Follow Me On Social Media!

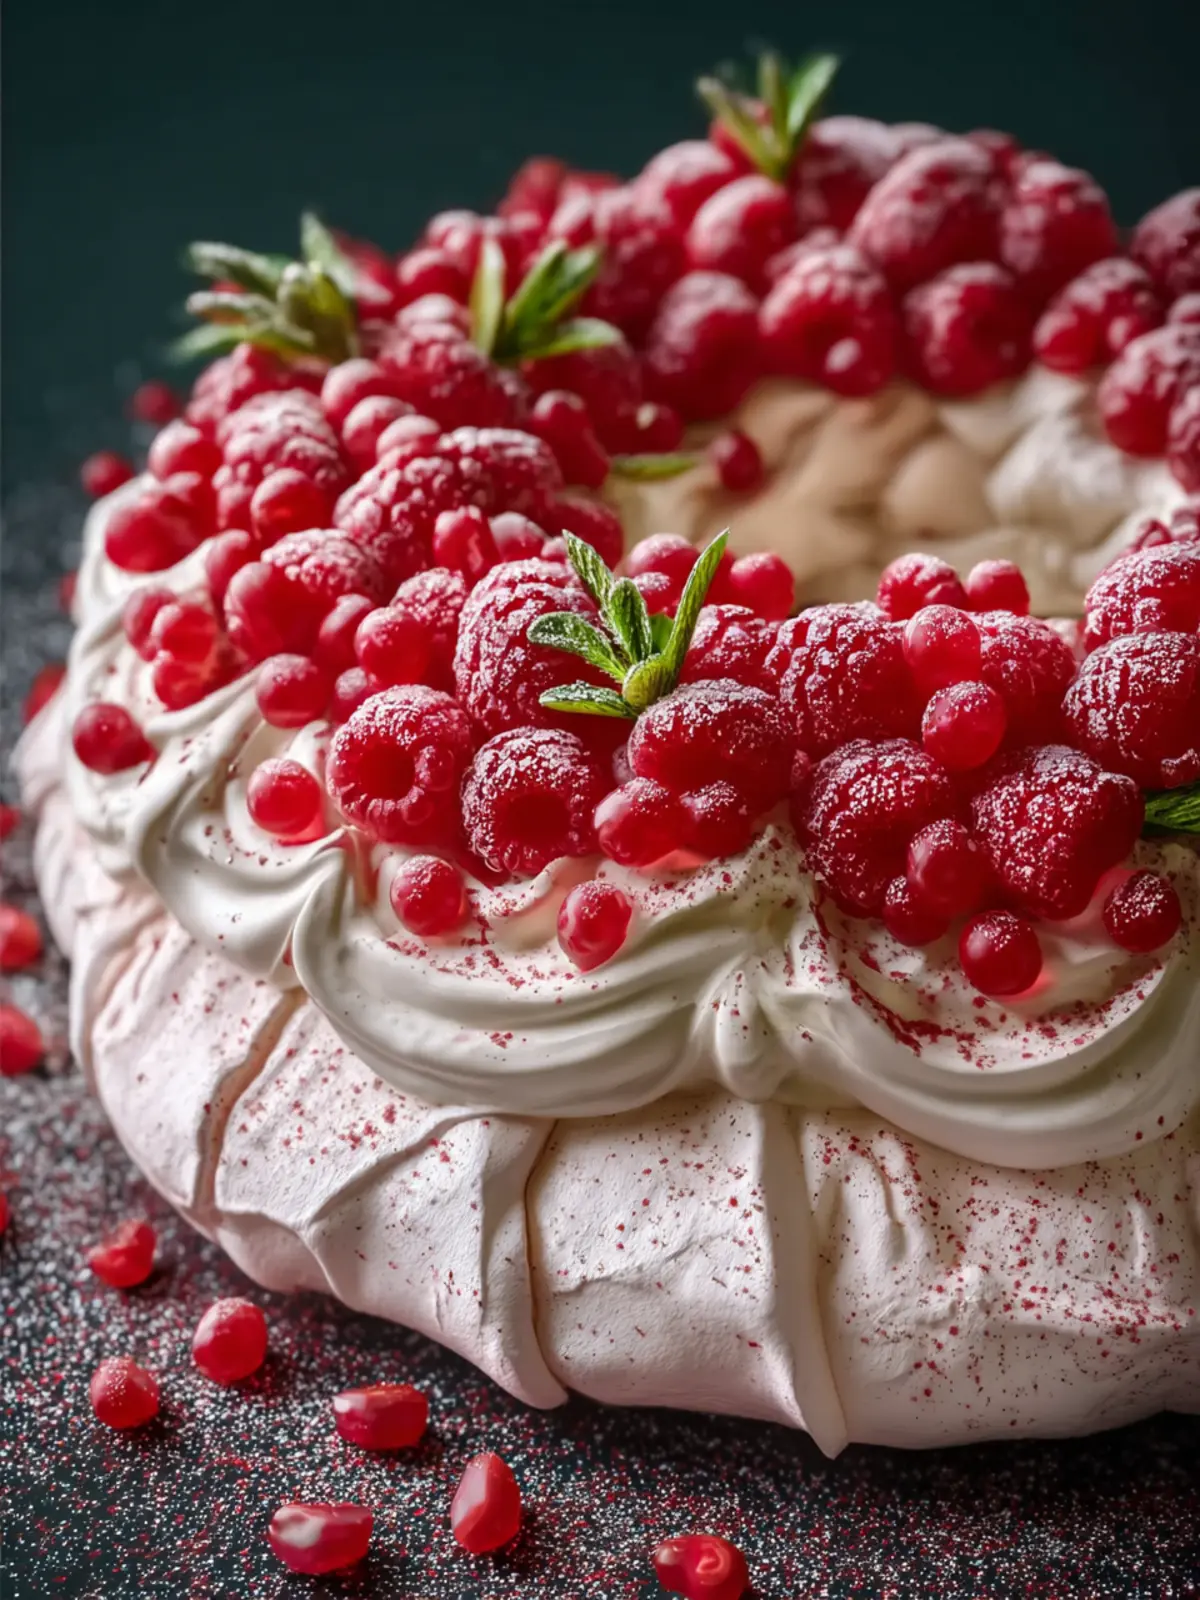
Christmas Pavlova: Irresistibly Light and Festive Delight
Introduction to Christmas Pavlova
Creating a Christmas Pavlova is like conjuring up winter magic on your dessert table. Picture this: the holiday season enveloping your home in twinkling lights and the joyous sounds of laughter, while you serve up a dreamy meringue dessert that promises to be the centerpiece of your festivities. A Pavlova is not just a dessert; it’s a celebration of texture and flavor, offering a delightful dance between crisp meringue and luscious toppings.
The Magic of Holiday Desserts
There’s something truly special about holiday desserts that brings family and friends together. The aromas wafting through the kitchen stir memories from years past and create new ones filled with laughter and joy. Among these beloved treats, a Christmas Pavlova stands out due to its impressive visual appeal and sublime taste. This dessert is a perfect blend of crisp and fluffy layers—its outer shell crisped to perfection, while the inside remains delicately soft, like a cloud.
Made primarily from just a few ingredients—egg whites, sugar, and a touch of vinegar or cornstarch—this elegant dessert is surprisingly easy to master. The beauty of a Pavlova is its versatility; you can top it with whatever fresh fruits and creams you fancy. Seasonal favorites like pomegranate seeds, passion fruit, and whipped cream can turn this traditional recipe into your personal festive masterpiece.
Not only does the Christmas Pavlova offer a delicious balance of flavors and textures, but it’s also adaptable to different dietary preferences. A gluten-free option that’s light yet indulgent, it ensures that everyone at your gathering can enjoy a slice. Moreover, the preparation allows you to engage with loved ones—whipping egg whites and carefully crafting your masterpiece can be a fun, collaborative effort.
With the Christmas Pavlova, you’re not just serving dessert; you’re providing an experience that invites everyone to indulge their senses and share in the joy of the season. So grab your mixing bowl and let’s dive into this delightful recipe that’s sure to become a cherished holiday tradition in your home!
Key Ingredients for Christmas Pavlova
Creating a show-stopping Christmas Pavlova begins with selecting the right ingredients that harmonize to create a symphony of flavor and texture. Let’s dive into these essential components!
Fresh Mint Leaves Matter
Fresh mint leaves are indispensable for a Christmas Pavlova. Their vibrant flavor adds a refreshing contrast to the sweetness of the meringue and fruit toppings. You could use dried mint, but it won’t provide that burst of freshness that elevates your dessert. Imagine biting into that fluffy meringue and having the coolness of mint complement the luscious fruit—pure bliss!
Essential Tools and Equipment
To craft your Christmas Pavlova perfectly, having the right tools makes a difference:
- Electric Mixer: A reliable mixer is crucial for whipping egg whites to the perfect stiff peaks.
- Parchment Paper: Line your baking sheet with parchment while shaping the meringue. It prevents sticking and makes clean-up a breeze.
- Spatula: A good-quality spatula is key for folding in ingredients gently to maintain airiness, which results in that dreamy texture you desire.
Gather these ingredients and tools, and you’ll be on your way to a festive dessert that’s bound to impress!
Why You’ll Love This Christmas Pavlova
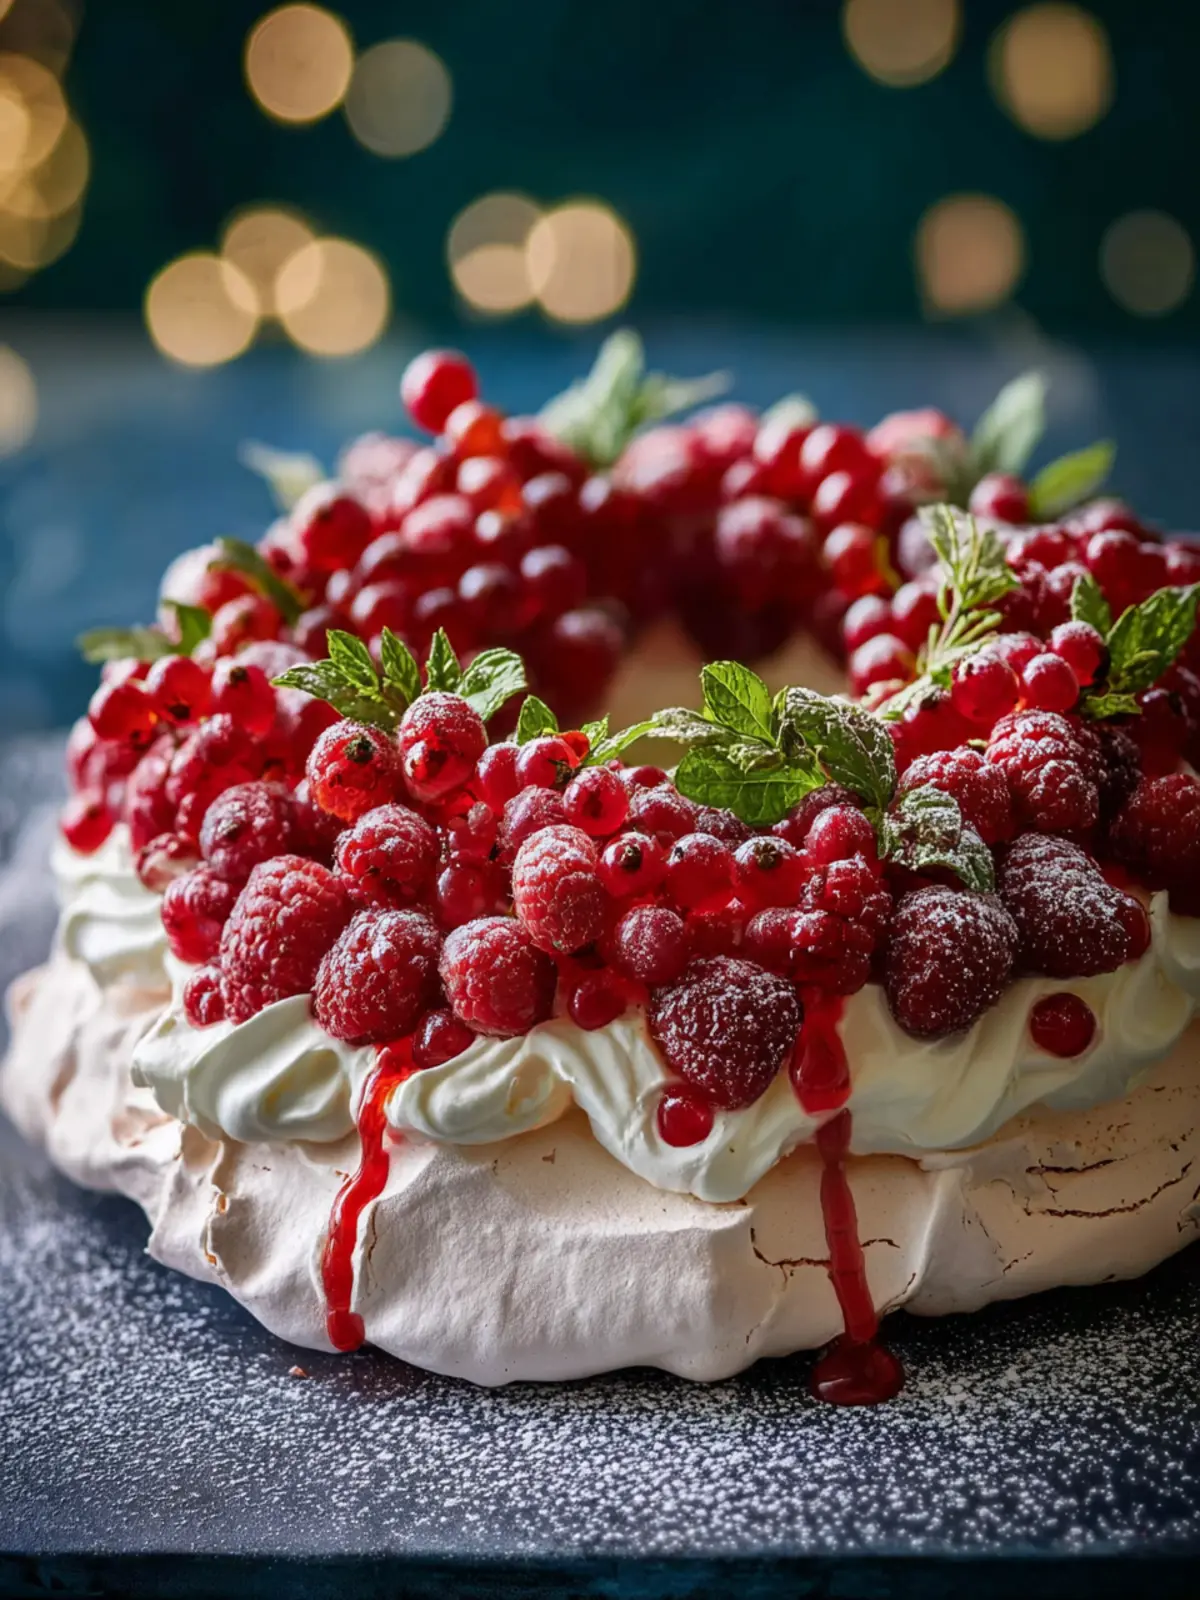
There’s something magical about a Christmas Pavlova that brightens any holiday gathering. With a light, airy meringue shell, it creates a perfect canvas for vibrant toppings that flatter the senses. Imagine serving a dessert that not only looks stunning but also captures the essence of the festive season—it’s a showstopper that has guests eagerly waiting for a slice.
A Versatile Dessert
One of the best aspects of this Christmas Pavlova is its versatility. You can top it with any fruit in season—think luscious raspberries, juicy kiwi, or zesty oranges. It easily adapts to your preferences and offers a refreshing contrast to heavier holiday treats. You can even get creative with toppings like whipped cream or a drizzle of chocolate, making it a crowd-pleaser for all palates.
Light and Indulgent
Despite being a meringue-based dessert, the Christmas Pavlova doesn’t compromise on richness. The crunchy exterior gives way to a soft and marshmallow-like interior that will leave you craving more. It pairs well with coffee or tea, providing a delightful end to any holiday meal without being overwhelmingly heavy.
This dessert is not just a treat; it’s an experience, inviting everyone to gather around and share stories while enjoying a slice of holiday bliss. That’s why you’ll absolutely love this Christmas Pavlova—it embodies the spirit of the season in every bite!
Variations on the Classic Pavlova Recipe
The Christmas Pavlova is a delightful dessert that not only serves as a fantastic centerpiece for your holiday table but also provides a canvas for your creativity! Here are a few delightful variations to elevate this classic meringue dessert.
Seasonal Fruit Toppings
While the classic recipe often calls for fresh berries, consider seasonal fruits to reflect the flavors of the holidays.
- Citrus: Slices of blood oranges or ruby red grapefruit add a vibrant pop of color and a punchy tartness that balances the sweetness of the meringue.
- Stone Fruits: Think about using poached pears or roasted figs; their caramelized sweetness can transform your pavlova into a luxurious treat.
Flavor Enhancements
Don’t shy away from imparting new flavors into your Christmas Pavlova.
- Spices: A dash of cinnamon or nutmeg in your whipped cream can add a warm, festive note, perfect for a winter gathering.
- Extracts: Incorporating a splash of almond or vanilla extract into the meringue offers a beautiful depth that complements the fruit toppings.
Alternate Creams
The cream is just as important as the pavlova itself, and you can switch it up!
- Mascarpone: Mixing mascarpone with whipped cream lends a rich, creamy texture that’s delightful.
- Yogurt: For a lighter option, plain Greek yogurt provides a tangy contrast that perfectly complements the sweetness.
These variations on the Christmas Pavlova not only enhance flavor but also introduce fun textures and colors, so dive into your creativity and enjoy crafting a dessert that reflects your unique style!
Cooking Tips for Perfect Christmas Pavlova
Creating the ultimate Christmas Pavlova may seem daunting, but with the right techniques, you can master this delightful dessert! Here’s how to ensure your pavlova wows your family and friends this holiday season.
Start with Fresh Ingredients
Egg Whites: Using fresh egg whites is crucial. Room temperature egg whites whip up to a greater volume, giving your Christmas Pavlova that light, airy texture. A little trick I’ve learned is to separate eggs while they’re cold, then leave them out to warm up for about 30 minutes.
Sugar: Opt for fine granulated sugar, as it dissolves more easily into the egg whites. Avoid using powdered sugar as it can make your pavlova too soft and prone to collapse.
Whipping to Perfection
Beating: When whipping the egg whites, start on a low speed and gradually increase to medium-high. Look for stiff peaks—if they’re glossy and hold their shape, you know you’re on the right track.
Cornflour & Vinegar: Adding these two ingredients will boost the stability of your pavlova and keep it from weeping. The vinegar helps create that delightful chewiness in the center.
Baking Conditions
Low and Slow: Bake your Christmas Pavlova at a low temperature. This lengthens the cooking time and helps achieve that beautiful, crispy shell without burning.
Cooling: Let your pavlova cool in the oven with the door slightly ajar. This prevents sudden temperature changes that can cause cracking.
With these tips, your Christmas Pavlova will be a holiday hit, impressing guests and sparking festive joy around your table!
Serving Suggestions for Christmas Pavlova
Creating the perfect Christmas Pavlova is just the beginning; how you serve it can elevate this dish to festive heights. Picture the delight on your guests’ faces as they dig into this masterpiece!
Dress it Up
-
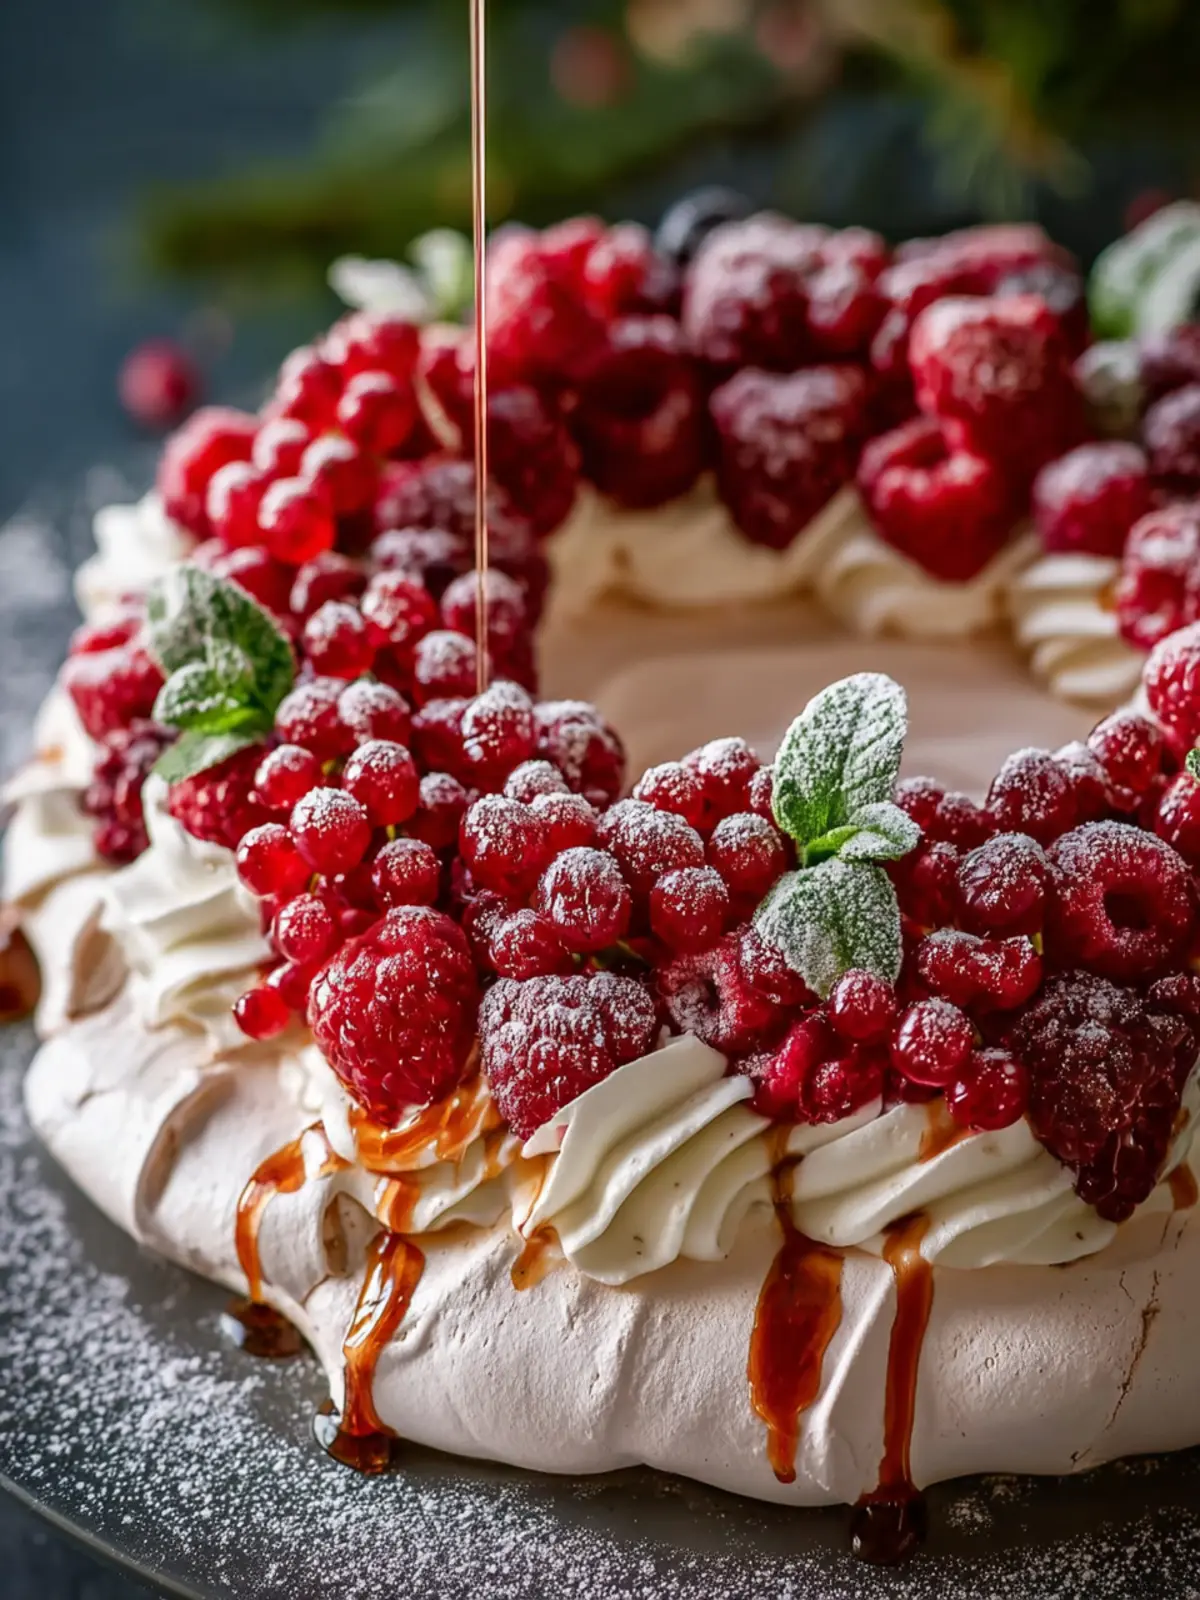
Seasonal Fruits: Top your pavlova with a colorful array of fresh fruits. Think vibrant strawberries, juicy kiwis, or even pomegranate seeds for that festive flair. The combination of tart and sweet gives a delightful contrast to the meringue.
-
Whipped Cream: A generous dollop of freshly whipped cream can make all the difference. Consider flavoring it with a hint of vanilla or even a sprinkle of cinnamon for a festive twist.
Add That Extra Touch
-
Chocolate Shavings: If you’re a chocolate lover, don’t hold back! Add delicate chocolate shavings or drizzle some dark chocolate sauce over the top for an indulgent finish.
-
Mint Leaves: For a pop of color and freshness, garnish your pavlova with fresh mint leaves. They not only look beautiful but also add a refreshing aroma.
By incorporating these simple yet effective serving suggestions, your Christmas Pavlova will be not only visually stunning but also a delicious centerpiece for your holiday celebrations.
Time Breakdown for Christmas Pavlova
Creating an irresistible Christmas Pavlova involves a bit of planning, but knowing the time required can help you manage your holiday preparations with ease.
Preparation time
Start by setting aside about 30 minutes to whip up the meringue base. This includes gathering your ingredients, separating your egg whites, and beating them to perfection.
Baking time
Next, your pavlova will need to bake for around 1 hour. This slow baking process is crucial for achieving that crisp exterior and marshmallowy center that we all love.
Cooling time
Once baked, allow the pavlova to cool in the oven for about an hour while the oven cools down, followed by another 30 minutes outside. This gentle cooling prevents cracking and ensures your masterpiece is ready for toppings!
With this time breakdown, you can make your Christmas Pavlova stress-free and delightful.
Nutritional Facts for Christmas Pavlova
When indulging in a delightful Christmas Pavlova, understanding its nutritional composition can enhance your festive enjoyment. This light, chewy meringue dessert, topped with fresh fruit and creamy goodness, offers a treat that’s both satisfying and festive.
Calories
A single slice of Christmas Pavlova typically contains around 150-200 calories. This relatively low-calorie count makes it a delightful option for holiday gatherings, allowing you to savor the sweetness without the guilt.
Sugar Content
The sugar content in a slice of Pavlova usually hovers around 12 to 18 grams. While it does provide that essential sweetness, it’s good to maintain moderation, especially if you’re keeping an eye on your sugar intake during the holiday season.
Protein
Despite its airy texture, a serving of Christmas Pavlova can provide about 2-4 grams of protein, thanks to the egg whites used in the meringue. This protein contributes not only to its unique structure but also leaves you feeling content after a slice.
FAQs about Christmas Pavlova
Creating a Christmas Pavlova is about more than just following a recipe; it’s about crafting a beautiful, light dessert that brings joy to your holiday gatherings. However, as with any delicate dish, questions often arise. Here are some of the most common queries to guide you through crafting the perfect Christmas Pavlova.
How can I prevent my pavlova from cracking?
No one likes a cracked Christmas Pavlova! To help prevent cracking, make sure to:
- Whip Egg Whites Properly: Beat your egg whites until they form stiff peaks but are not overly whipped.
- Gradual Sugar Addition: Incorporate the sugar slowly to avoid overwhelming the egg whites.
- Cool Slowly: Turn off the oven and leave the pavlova inside as it cools down. A rapid temperature change can lead to cracks.
Can I make the pavlova ahead of time?
Absolutely! The best part of a Christmas Pavlova is that you can prepare it ahead of time. You can bake the meringue up to a day in advance. Just remember to store it in an airtight container at room temperature to maintain its crispiness. This way, you’ll have more time to enjoy the holiday festivities!
What toppings can I use instead of raspberries?
While raspberries add a festive touch, there are plenty of delicious alternatives! Consider:
- Mixed Berries: Strawberries, blueberries, and blackberries make a colorful combination.
- Tropical Fruits: Mangoes or kiwi can bring a refreshing twist.
- Citrus Segments: Slices of orange or blood orange offer a nice balance to the sweetness.
- Nuts and Whipped Cream: A sprinkle of chopped nuts or a dollop of whipped cream can add texture and creaminess.
With these tips and alternative ideas, your Christmas Pavlova will surely be a showstopper at your holiday celebrations!
Conclusion on Christmas Pavlova
Creating the perfect Christmas Pavlova is truly a labor of love, and it’s one of those desserts that brings warmth and joy to any holiday gathering. The delicate meringue, complemented by lush toppings, turns every bite into a celebration of flavors and textures.
Imagine serving this masterpiece at your festive table, where its crunchy exterior gives way to a soft, marshmallow-like center, all adorned with seasonal fruits. Whether it’s a classic pavlova or one with your unique twist, this dessert is bound to delight friends and family. As you embrace the spirit of giving, consider sharing your Christmas Pavlova with neighbors or loved ones—after all, what better way to spread cheer than with a delicious homemade treat?
Print
Pavlova with Raspberries and Cream
- Total Time: 2 hours 30 minutes
- Yield: 8 servings 1x
- Diet: Gluten-Free
Description
A light and airy pavlova topped with fresh raspberries and a fluffy cream mixture.
Ingredients
Scale
- 6 large Egg Whites
- 1 1/2 cups Granulated Sugar (super fine sugar, if possible)
- 2 Tablespoons Cornstarch
- 1 pinch Salt
- 1 cup Heavy Cream
- 8 ounces Mascarpone Cheese (or cream cheese)
- 1 1/4 cups Powdered Sugar
- 1 teaspoon Vanilla Bean Paste or Extract
- 12 ounces Fresh Raspberries
- Fresh Mint Leaves
- Powdered Sugar (for dusting)
Instructions
- Preheat oven to 310 degrees. Start by ensuring your bowl is clean of any water or grease.
- Separate your egg whites from your egg yolks and ensure there are no egg yolks in the bowl with the whites. This is imperative to perfecting the ideal meringue. Room temperature egg whites work best.
- Whip the egg whites on high speed until soft peaks form. Begin adding the sugar a little at a time, whipping the mixture continuously. After all of the sugar has been added, beat for 3 minutes longer, until thick and glossy.
- Add in cornstarch and a pinch of salt and whip just until combined, about 5 seconds.
- Tear a sheet of parchment paper large enough to cover your baking sheet. Place an 8–10 inch bowl or cake pan upside down on the parchment. Trace a circle lightly with pencil. Draw a smaller circle inside (about 4–5 inches wide) to create the ring shape. Flip the parchment over so the pencil marks are underneath but still visible through the paper. This gives you a guide for even shaping.
- Add large dollops of meringue around the outer circle first. Work your way around in a ring, making sure the meringue touches between dollops so the wreath is continuous and stable. Aim for a ring that is about 3 inches wide evenly thick all the way around.
- For a dramatic, cloud-like wreath — add another layer of meringue on top of the first ring. Gently swirl or lift the meringue with the back of a spoon or small spatula to create soft peaks.
- Carefully place in oven and immediately reduce heat to 250 degrees. Bake for 1 hour 10 minutes. Do NOT open the oven or the pavlova may fall. You want to be gentle with this dessert.
- Do NOT remove from the oven but just turn off the oven and let pavlova remain in the oven for 2 hours.
- Once the pavlova is done, gently remove from the oven.
- In a large bowl, whip the heavy cream, mascarpone cheese, and powdered sugar until soft peaks form. Fold in vanilla bean paste.
- Carefully spread the whipped cream mixture over the pavlova. Top with fresh raspberries. Dust with powdered sugar. Eat as soon as possible!
Notes
- Ensure your equipment is grease-free for the best meringue.
- Using super fine sugar will help achieve a smoother meringue texture.
- Fresh mint leaves can be used for garnish.
- Prep Time: 20 minutes
- Cook Time: 70 minutes
- Category: Dessert
- Method: Baking
- Cuisine: Australian
Nutrition
- Serving Size: 1 slice
- Calories: 320
- Sugar: 30g
- Sodium: 60mg
- Fat: 20g
- Saturated Fat: 10g
- Unsaturated Fat: 8g
- Trans Fat: 0g
- Carbohydrates: 42g
- Fiber: 1g
- Protein: 4g
- Cholesterol: 150mg