Follow Me On Social Media!
No Knead Chocolate Chip Bread: Easy, Warm, and Irresistibly Gooey
Introduction to No Knead Chocolate Chip Bread
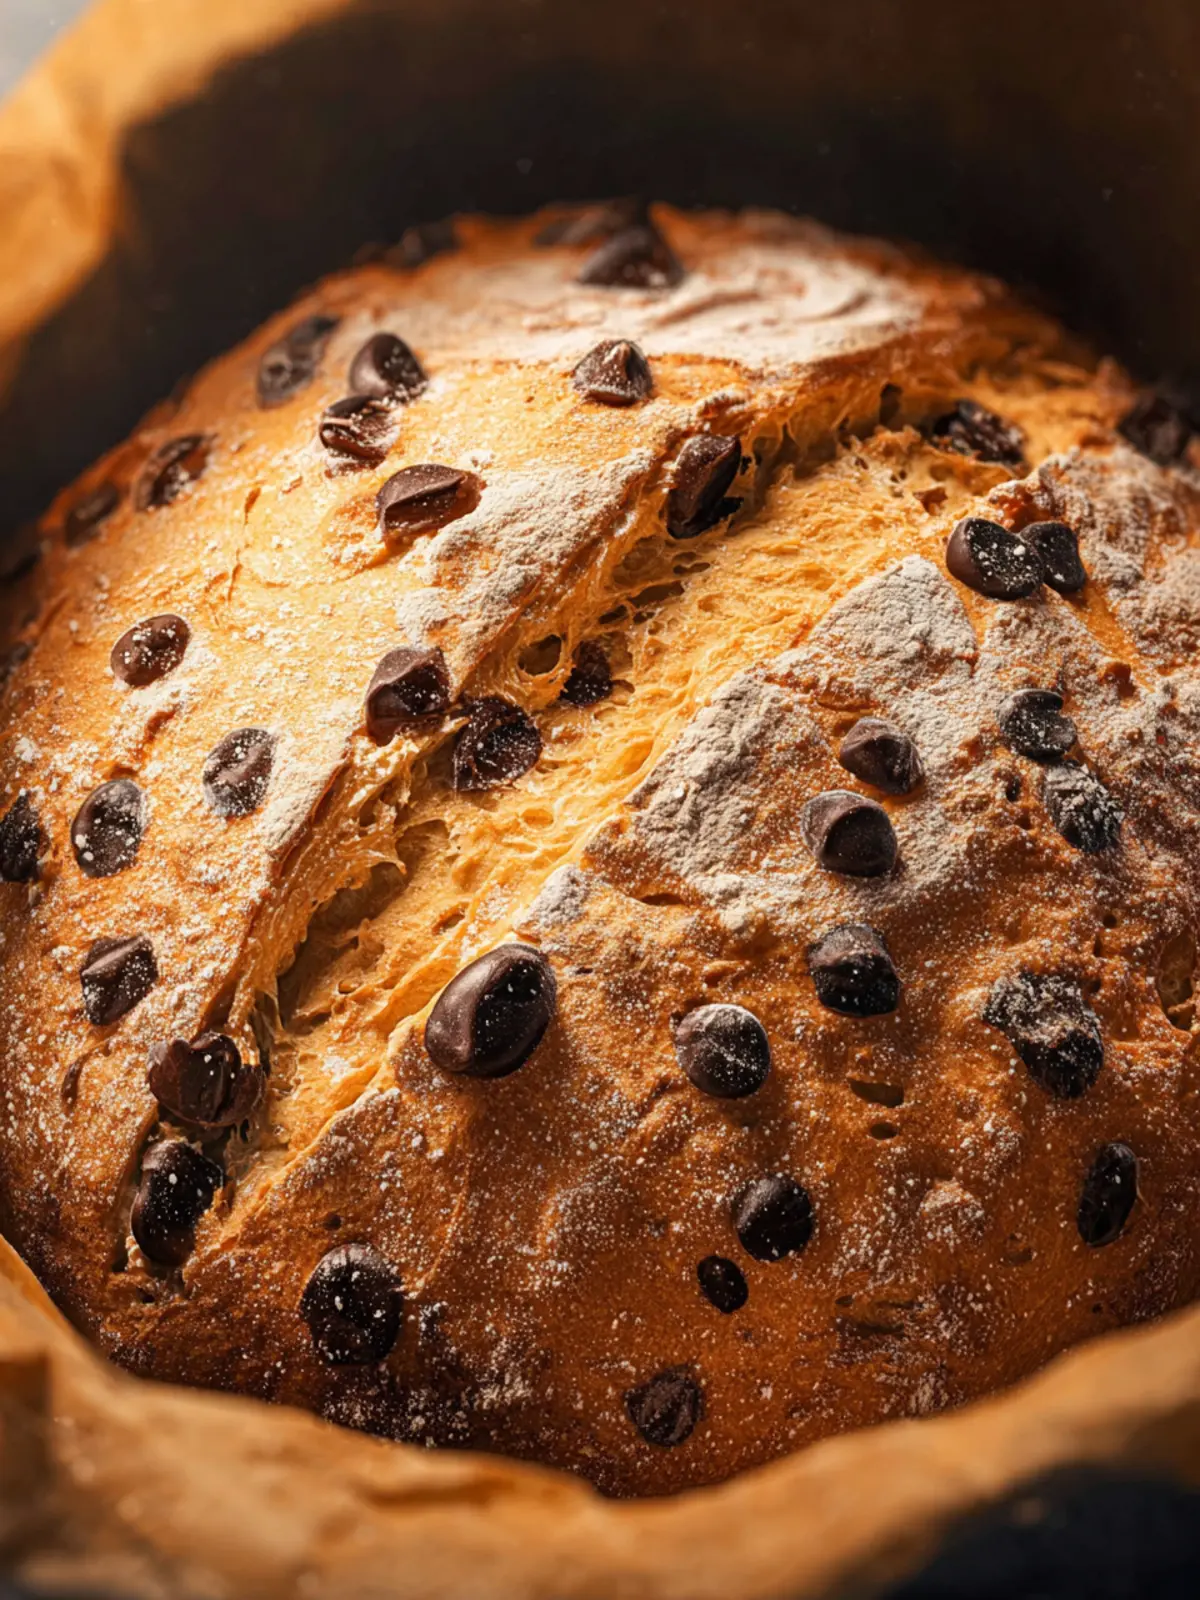
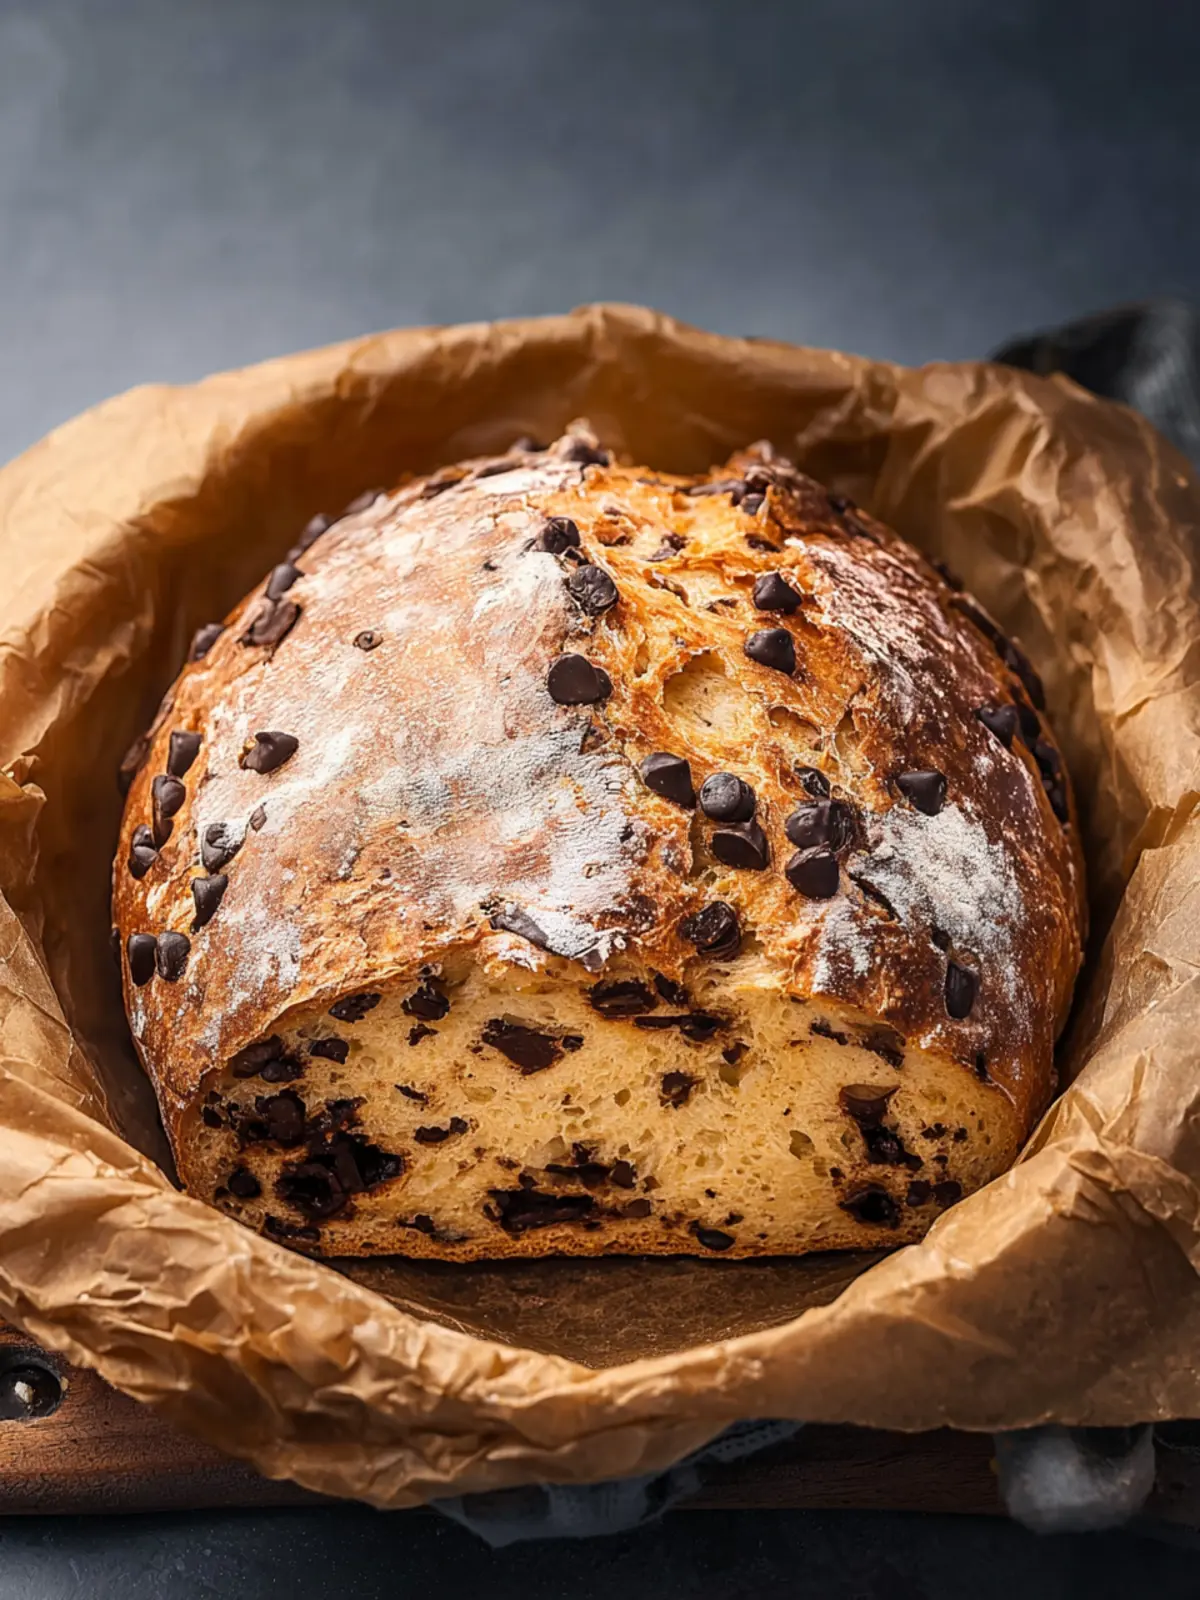
Imagine walking into a cozy kitchen, the aroma of freshly baked no knead chocolate chip bread wafting through the air. The sight of that golden crust, with melty chocolate chips peeking through, feels nothing short of magical. What if I told you that you could create such an irresistible treat without spending hours kneading dough? With this simple no knead chocolate chip bread recipe, you’re just a few ingredients away from delighting your senses and impressing your friends.
What makes the charm of no knead chocolate chip bread so compelling? For one, the process is incredibly forgiving. You don’t need a fancy stand mixer, and the dough practically develops its own gluten as it rests. This method allows the flavors to deepen over time, resulting in a bread that is both flavorful and tender. As it bakes, you can almost see the bread transform, achieving that delightful crispy exterior while the inner crumb remains soft and chewy.
The beauty of this recipe lies in its simplicity and spontaneity. Most of us live busy lives, juggling work and social commitments. This is where no knead chocolate chip bread shines. You can easily prepare the dough when you have a few free moments, let it rest, and then bake it fresh whenever you’re ready to enjoy. Perfectly paired with your morning coffee or as an afternoon treat, this bread is as versatile as it is delicious.
Not to mention, who wouldn’t love the combination of sweet chocolate and the comforting aroma of freshly baked bread? It’s a match made in heaven! Whether you’re a seasoned baker or a nervous novice, you can whip this up with confidence. So, grab your measuring cups and get ready for a delightful baking experience that requires minimal effort but yields maximum enjoyment.
What makes no knead chocolate chip bread irresistible?
- Ease of preparation: No need for a rigorous kneading process; just mix, rest, and bake!
- Rich flavors: The slow fermentation process enhances the taste.
- Versatile serving options: Great for breakfast, snacks, or dessert.
- A crowd-pleaser: Perfect for gatherings or cozy nights in.
Now, let’s dive into the ingredients that will help you make this marvelous bread!
Key Ingredients for No Knead Chocolate Chip Bread
Chocolate: When crafting no knead chocolate chip bread, using high-quality chocolate makes all the difference. I prefer bittersweet chocolate chips because they add depth and balance out the sweetness of the dough. If you’re a fan of other types of chocolate, feel free to mix it up with milk or dark chocolate, just ensure they’re delicious!
Flour: All-purpose flour is my go-to for this recipe as it creates a light yet sturdy structure. It absorbs just the right amount of water, leading to that perfectly chewy texture we all crave in bread.
Yeast: I opt for active dry yeast, which gives the dough enough rise without the requirement for kneading. Just mixing it with the other ingredients activates its power, resulting in a delightful bread.
Salt: A pinch of salt enhances the flavors and balances the sweetness from the chocolate. Trust me, this step is crucial!
Water: Warm water is essential for activating the yeast. Be careful not to use boiling water; it can kill the yeast and ruin your dough!
With these key ingredients, your no knead chocolate chip bread will turn out perfectly delicious.
Why You’ll Love This No Knead Chocolate Chip Bread
Imagine waking up to the comforting aroma of freshly baked bread wafting through your kitchen. That’s exactly what no knead chocolate chip bread offers—a simple, indulgent recipe that transforms your mornings into something special. With just a handful of ingredients, this bread brings the joy of artisanal baking right to your home, even for beginners.
Fuss-Free Baking
One of the best features of this no knead chocolate chip bread is its simplicity. You mix the ingredients, allow it to rise, and then bake! No complex techniques or intimidating kneading required; just a few simple steps to achieve mouthwatering perfection.
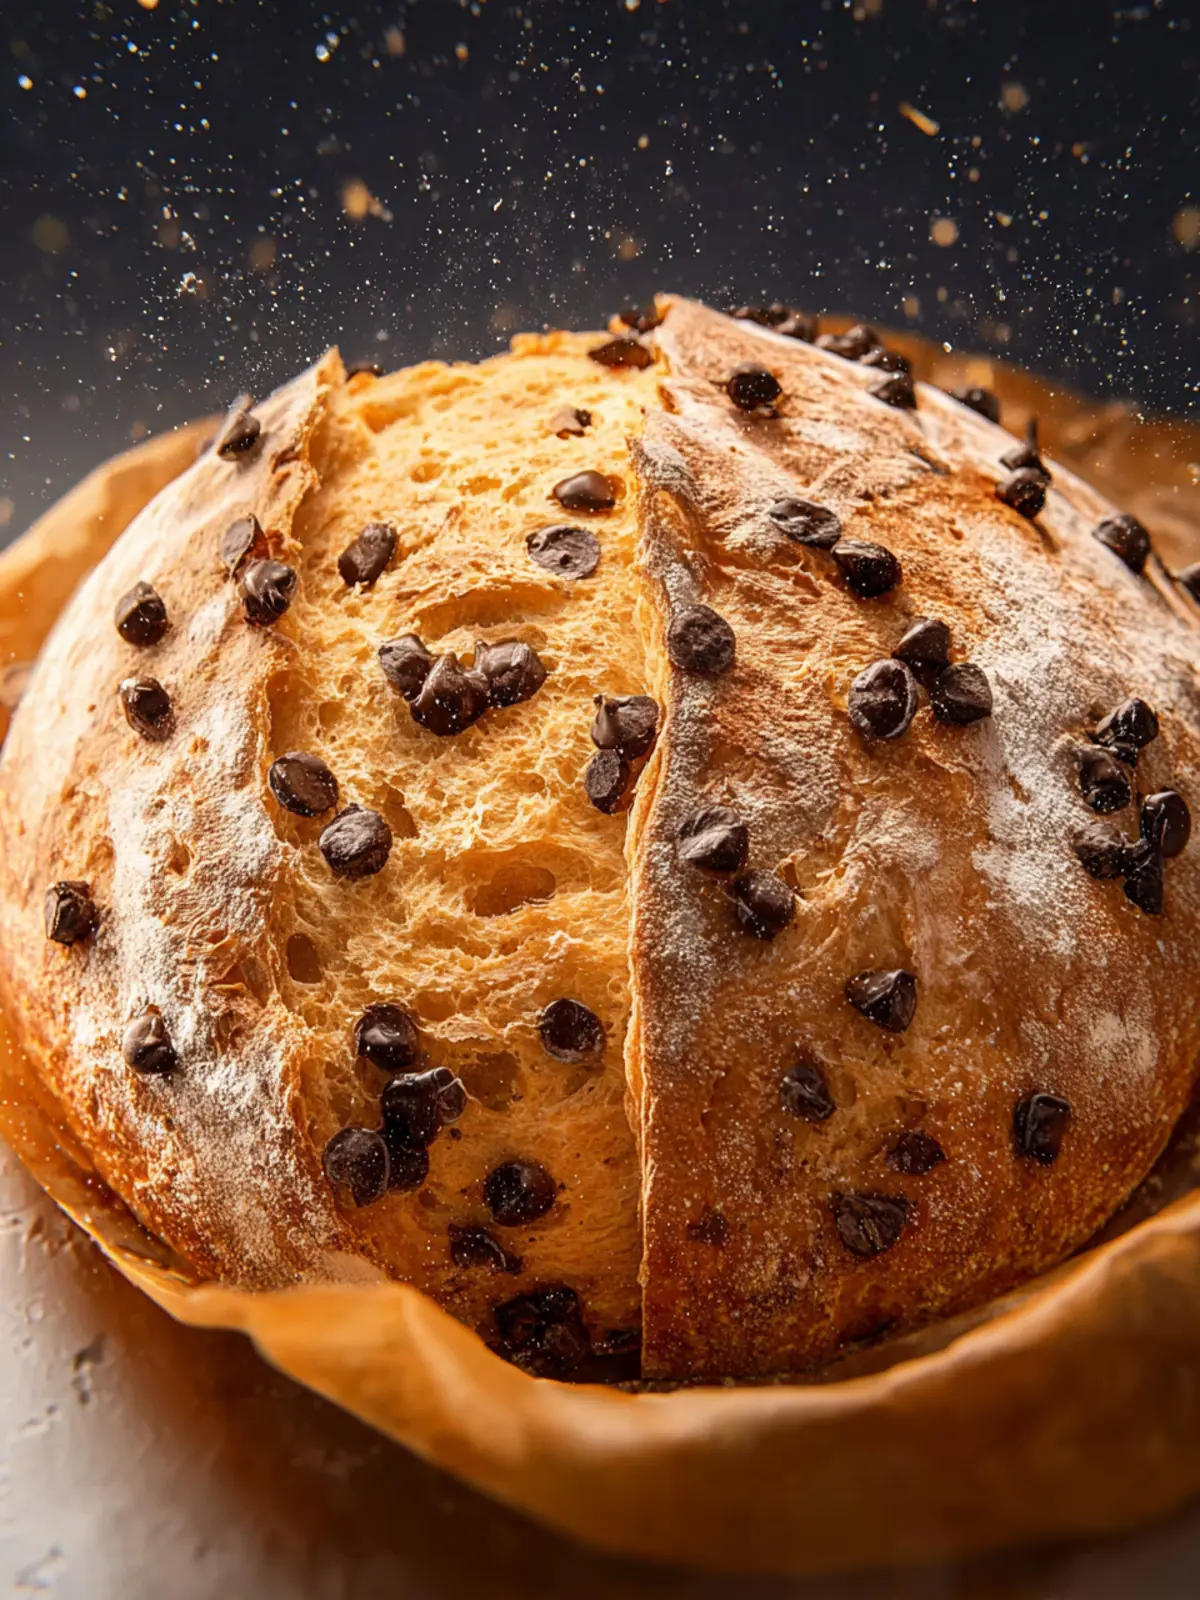
Decadent Chocolate Flavor
Chocolate chips create little pockets of gooey goodness in every bite. As the bread bakes, they melt lightly, creating a sweet contrast to the bread’s fluffy texture. It’s like having a cozy slice of dessert for breakfast or an afternoon snack.
Perfectly Versatile
Whether you enjoy it warm with a pat of butter or as a stand-alone treat, this no knead chocolate chip bread adapts beautifully. It’s a fantastic way to impress guests or indulge yourself without spending hours in the kitchen.
If you’re aspiring to create memorable moments over a slice of warm bread, this is your go-to recipe!
Tips for Making Perfect No Knead Chocolate Chip Bread
Crafting no knead chocolate chip bread is a delightful adventure, particularly when you embrace a few key tips that will elevate your baking game.
Use a Quality Flour
The backbone of any great bread is its flour. Choosing high-quality all-purpose flour ensures you’re starting with a solid base. For a richer flavor, consider bread flour, which has a higher protein content and enhances the bread’s structure.
Pay Attention to the Yeast
Always use fresh yeast. If your yeast is expired, it won’t rise effectively, and that can turn your hopeful creation into a dense disappointment. Activating the yeast in warm water is also crucial; make sure it’s warm, not hot, to avoid killing it.
Don’t Rush the Rising
Patience is key in no knead recipes. Letting your dough rise in a warm place for the recommended time allows for optimum flavor development. Longer fermentation significantly improves taste—think of it as your bread gathering complexities while you go about your day.
Add Chocolate Wisely
When folding in the chocolate chips, reserve a few to sprinkle on top of the dough before baking. This not only adds visual appeal but also ensures that beautiful pools of melted chocolate greet you in every slice.
By following these straightforward tips, your no knead chocolate chip bread will be a showstopper every time you bake it. Enjoy!
Time Details for No Knead Chocolate Chip Bread
Crafting the perfect no knead chocolate chip bread is a rewarding endeavor that requires just the right balance of time and patience. Time is indeed a key ingredient in this recipe, allowing flavors to meld beautifully.
Preparation Time
The preparation time for this delightful bread is a breezy 15 minutes. Simply gather your ingredients, mix them together, and you’re ready to set the dough aside to rise.
Rising Time
Patience is key! Allow your dough to rise for about 12 to 18 hours. This long fermentation enhances the flavor and texture, making every bite a delicious experience.
Baking Time
When you’re ready to bake, set aside 30 to 40 minutes. This is when the magic happens, transforming your dough into a golden loaf with gooey chocolate pockets.
Total Time
In total, this recipe takes around 12 to 19 hours, factoring in both preparation and rising time. But remember, most of the time is passive, allowing you to enjoy your day while the dough works its magic!
Nutritional Information for No Knead Chocolate Chip Bread
When you indulge in a slice of no knead chocolate chip bread, it’s not just about satisfying a sweet tooth—there’s a delicious balance of nutrition in each bite. Here’s a look at what makes this bread both delightful and nourishing.
Calories
A slice contains approximately 220 calories, making it a satisfying treat without overindulging.
Protein
With about 4 grams of protein per serving, this bread offers a decent source to help fuel your day.
Carbohydrates
Each slice provides around 35 grams of carbohydrates, primarily from the flour and sugar, perfect for energy.
Sugar
This delightful treat has about 10 grams of sugar, mostly from the chocolate chips and added sweetness.
Sodium
The sodium content is relatively low at approximately 180 mg, helping to keep it a heart-friendly option for the occasional indulgence.
Knowing the nutritional breakdown of your no knead chocolate chip bread can help you enjoy it mindfully, striking a balance between delighting in flavors and maintaining a nutritious diet.
FAQs About No Knead Chocolate Chip Bread
When it comes to baking no knead chocolate chip bread, there are a lot of questions that can pop up. This method is not only a time-saver, but it also yields a delightful, chewy loaf that’s perfect warm out of the oven or toasted the next day. Let’s dive into some common queries to make your baking experience even better.
Can I make this bread without chocolate chips?
Absolutely! While chocolate chips give this bread a deliciously sweet twist, you can simply leave them out for a more traditional bread flavor. Feel free to get creative and add nuts, dried fruits, or even spices like cinnamon for a different flair.
How can I store leftover bread?
To keep your no knead chocolate chip bread fresh, wrap it in plastic wrap or place it in an airtight container at room temperature. It should stay good for a couple of days. For longer storage, slice the bread and freeze it. Just toast the slices straight from the freezer when you’re ready to enjoy!
What makes this bread no knead?
This bread stands out because it uses a simple combination of ingredients and allows time instead of muscle to do the work. The long fermentation method develops flavor and texture, resulting in a delicious bread without all the kneading.
Can I use whole wheat flour instead?
You can use whole wheat flour in place of all-purpose flour, but consider using a mix of both. Whole wheat can give the bread a denser texture. A 50/50 blend often works beautifully while still retaining a light and flavorful bread.
How do I know when the bread is done?
A good test is to tap the bottom of the loaf. If it sounds hollow, it’s done. You can also use a thermometer; the internal temperature should be around 200°F. For a beautiful crust, look for a deep golden-brown color on the surface.
Conclusion on No Knead Chocolate Chip Bread
Baking no knead chocolate chip bread transforms a simple weekend into a delightful experience. The ease of preparation invites even novice bakers to try their hand at creating this scrumptious treat. With its golden crust and warm, gooey chocolate center, it makes for a perfect breakfast companion or an indulgent snack.
The magic lies not just in the ingredients, but in allowing time for the dough to rise—patience truly pays off here! So, whether you’re sharing this bread with friends or indulging in a cozy night in, this recipe is sure to bring warmth and comfort to your kitchen. Happy baking!
Print
Chocolate Chip Bread
- Total Time: 1 hour 10 minutes
- Yield: 1 loaf 1x
- Diet: Vegetarian
Description
This chocolate chip bread is easy to make and delicious, perfect for any occasion.
Ingredients
Scale
- 3 cups all purpose flour (plus more for dusting the counter and top of the bread)
- 1 teaspoon salt
- ½ teaspoon active dry yeast
- 1 ¾ cups warm water (between 100 and 110 degrees Fahrenheit (37 to 43 degrees Celsius))
- 1 cup chocolate chips
- additional flour for dusting the counter plus the top of the bread
Instructions
- In a large bowl, combine the flour, salt, and yeast.
- Mix with a whisk, wooden spoon, or with clean hands. Add the water and mix with a spatula until you have a sticky dough.
- Cover the bowl with a clean kitchen towel and let rest at room temperature for at least 5 hours or overnight.
- After the dough has tripled in size, uncover it, toss the chocolate chips into the bowl, and gently fold them in.
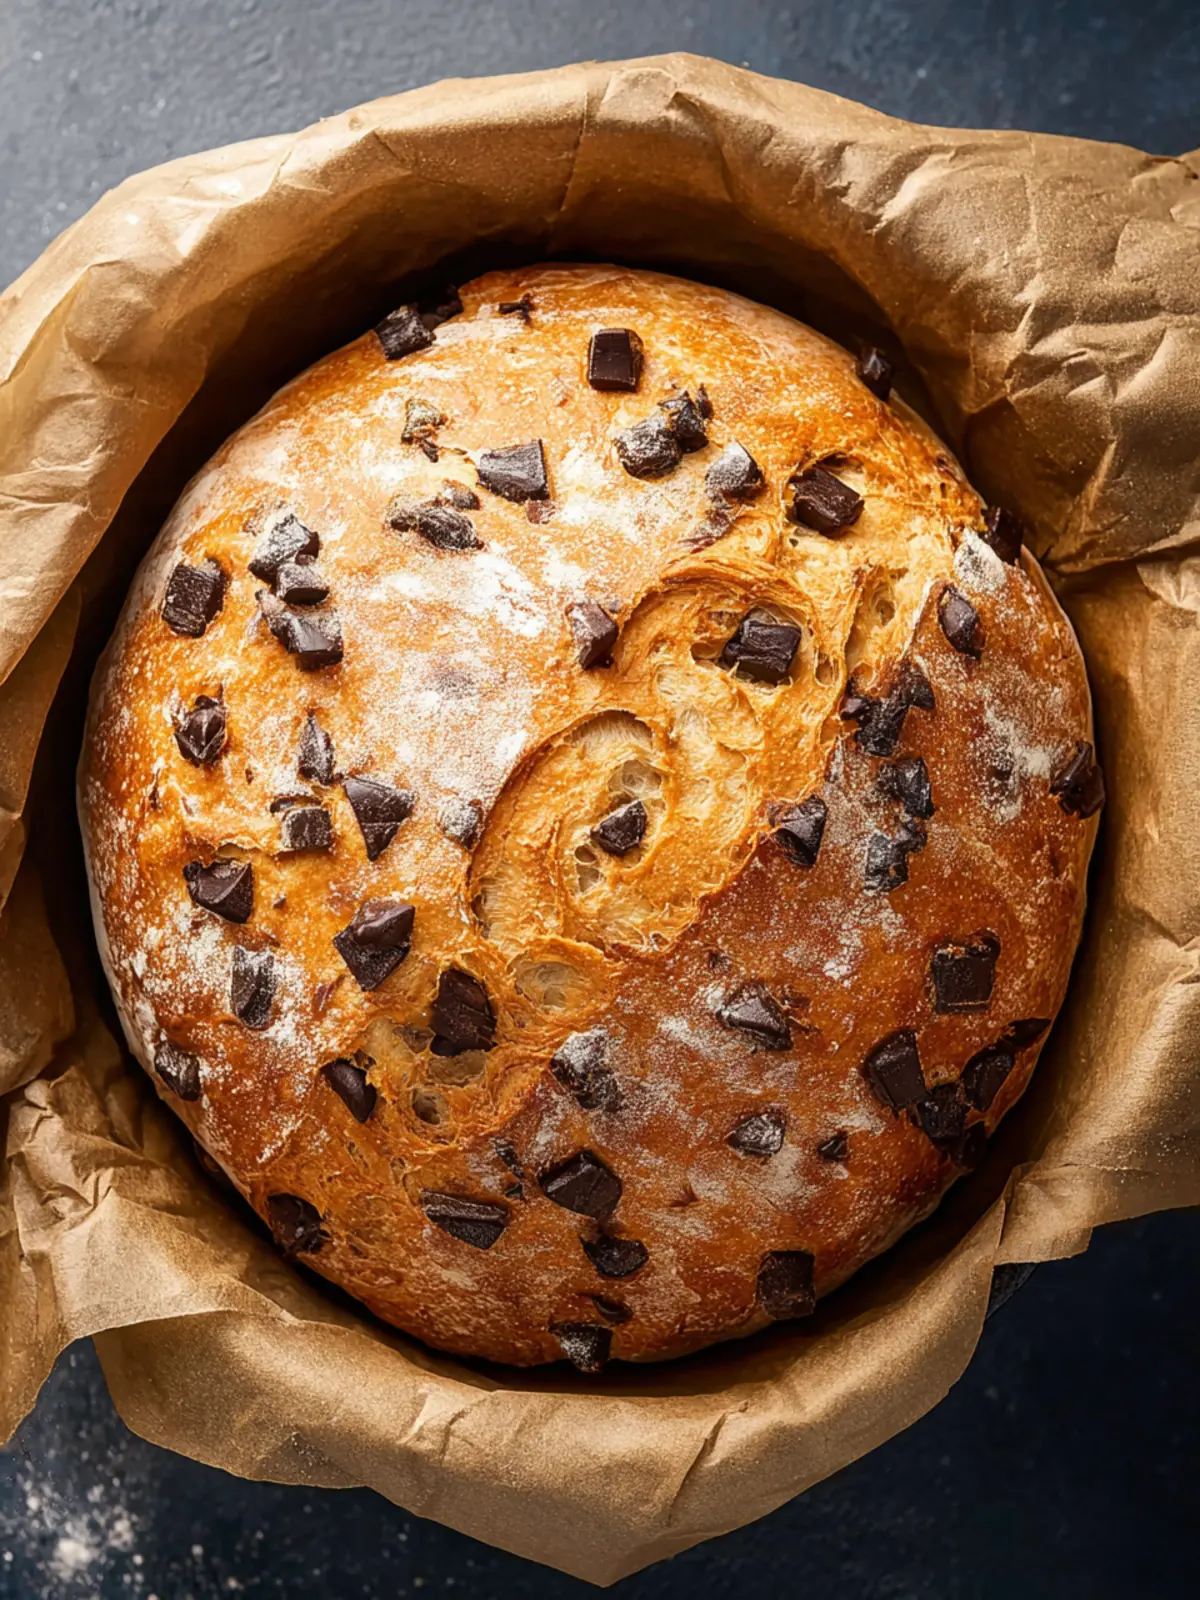
- Pour the dough onto a floured surface and generously sprinkle the top with flour. Gently shape it without kneading.
- Place the loaf into any oven-safe dish lined with parchment paper. Place a lid on the dish, and place the dish in a cold oven.
- Turn the oven on to 450F (230C) once the bread is inside. Bake the bread with the lid on the dish for 30 minutes.
- After 30 minutes, carefully remove the hot lid from the dish and bake the bread for another 25 to 30 minutes.
- Let it cool for 5 to 10 minutes and enjoy!
Notes
- The water must be between 100 and 110 degrees Fahrenheit (37 to 43 degrees Celsius). If the water is too hot or too cold, the yeast will not activate.
- Tip: Place the bowl of dough away from drafty areas, such as in the microwave or cupboard.
- Note: The bake time will depend on your oven, so keep an eye on it. Total bake time will be about 1 hour from the moment you place the bread into the cold oven.
- Storage tip: Allow leftover bread to cool completely. Wrap it up in plastic wrap, beeswax wrap, or a clean kitchen towel, and store it on the counter at room temperature. This bread is always best served warm the same day.
- Prep Time: 10 minutes
- Cook Time: 1 hour
- Category: Bread
- Method: Baking
- Cuisine: American
Nutrition
- Serving Size: 1 slice
- Calories: 200
- Sugar: 10g
- Sodium: 150mg
- Fat: 5g
- Saturated Fat: 2g
- Unsaturated Fat: 3g
- Trans Fat: 0g
- Carbohydrates: 35g
- Fiber: 1g
- Protein: 3g
- Cholesterol: 0mg