Follow Me On Social Media!
Pizookie Recipe: The Indulgent Dessert You’ll Crave Forever
Introduction to Pizookie Recipe
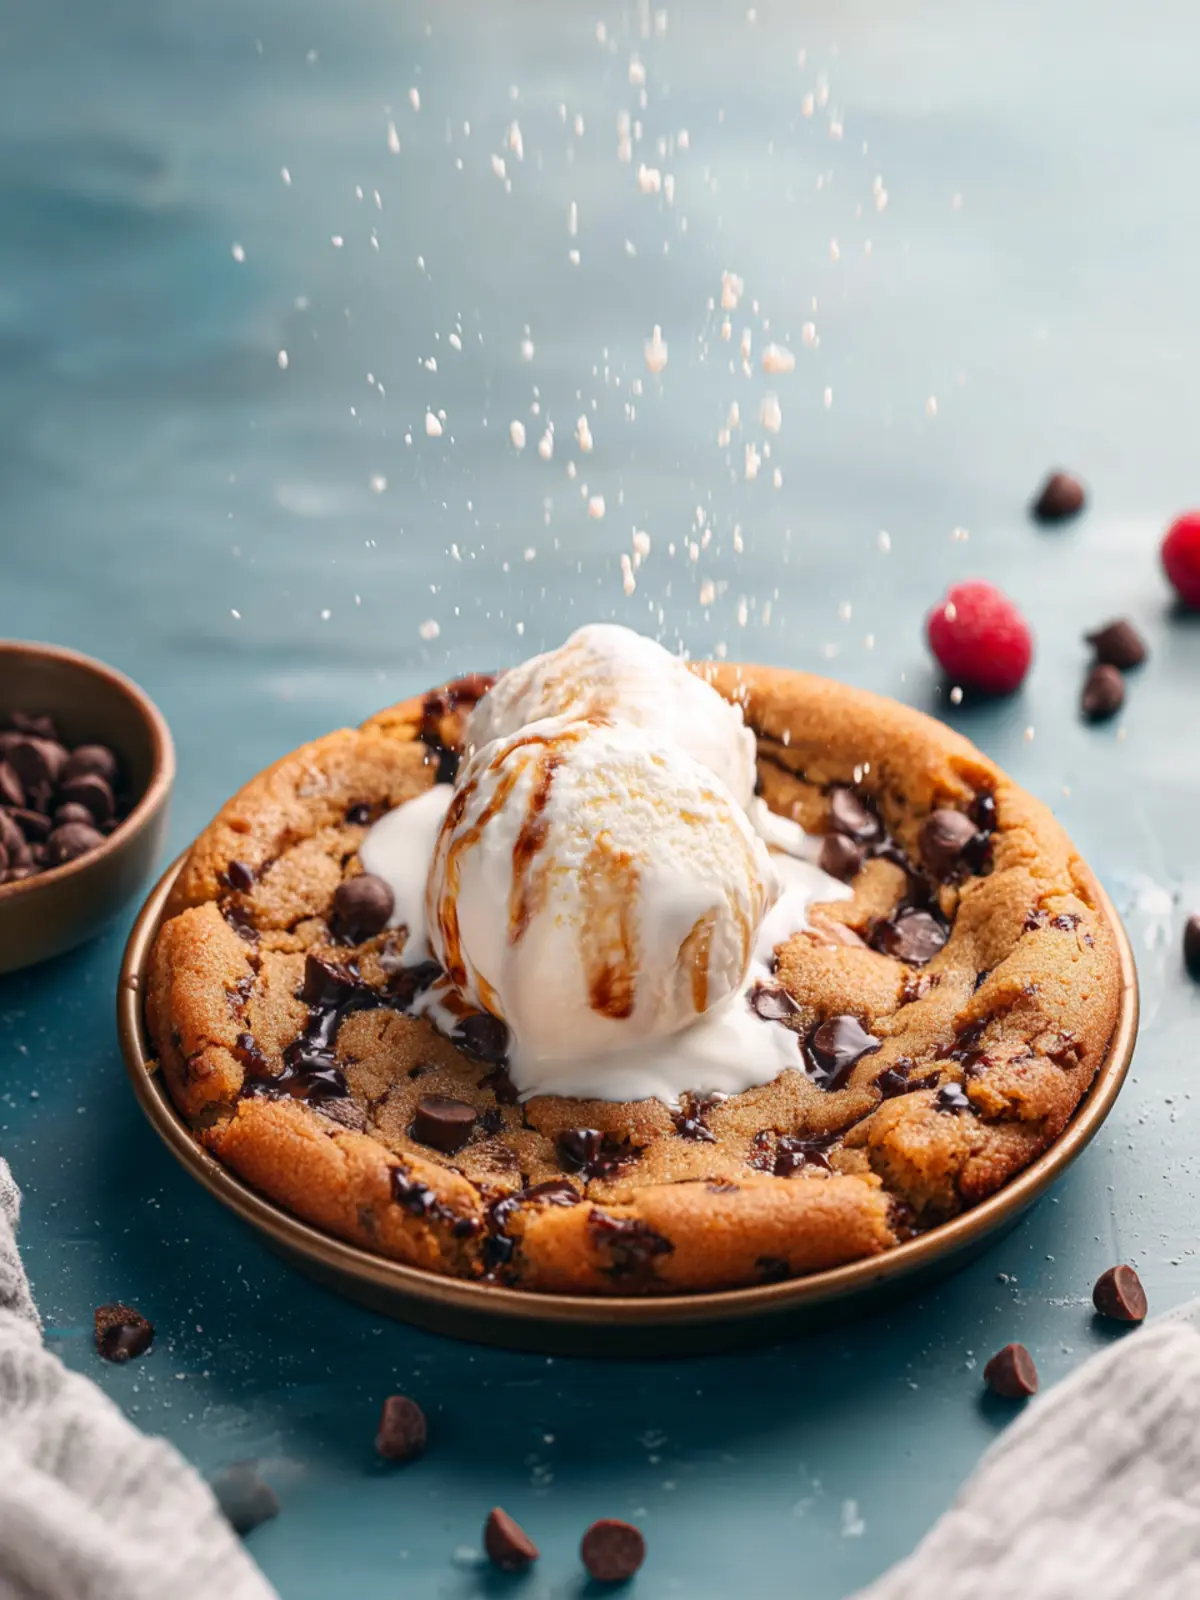
A pizookie recipe captures the heart of dessert lovers everywhere, blending the warmth of freshly baked cookies with the delightful experience of a gooey pizza. Imagine curling up on a chilly evening with your favorite dessert—one that not only comforts but also ignites a sense of nostalgia. Whether it’s a gathering with friends or a quiet night in, a pizookie invites everyone to dig in with gleeful anticipation.
The pizookie, known for its irresistible combination of cookie dough and ice cream, has gained fame thanks to its delightful origins. This dessert originated from the iconic restaurant chain, BJ’s, but you can easily recreate its magic at home. Picture this: a skillet filled with warm cookie dough, slightly crisp on the edges but soft and melty in the center, topped with a generous scoop of vanilla ice cream. Each bite offers a perfect fusion of textures and flavors, making it a treat like no other.
Why is the pizookie the ultimate dessert choice? It effortlessly marries the best of two worlds: the comforting nostalgia of warm cookies and the luxurious indulgence of ice cream. Plus, it’s customizable! You can opt for classic chocolate chip or mix in your favorite candy bars, nuts, or even fruits. This flexibility means your pizookie can evolve with the seasons or suit the particular sweet cravings of your friends and family.
When hosting friends, the pizookie serves as more than just a dessert; it becomes an interactive experience. Everyone can share in the joy, choosing their preferred toppings and flavors, creating memories that linger long after the last bite. So, whether you want to impress your guests or enjoy a moment of self-care, this pizookie recipe is perfect for those seeking something both comforting and indulgent. Get ready to treat yourself and those you love with this deliciously simple, yet incredibly delectable dessert!
Key Ingredients for Pizookie Recipe
Creating the perfect pizookie is a delightful journey that combines simple ingredients into a heavenly dessert. This warm, gooey treat is all about indulgence, so let’s explore what makes it come to life.
-
Cookie Dough: The star of your pizookie is undoubtedly the cookie dough. I prefer using a classic chocolate chip cookie recipe, loaded with semi-sweet chocolate chips. This combination melts beautifully, enveloping you in rich flavor. Feel free to experiment with different mix-ins like nuts or white chocolate for a twist!
-
Butter: Butter is key for achieving that soft and chewy texture. Using unsalted butter allows you to control the flavor better, ensuring that your dessert isn’t overly salty.
-
Brown Sugar: This ingredient adds depth and moisture to the cookie dough. The molasses in brown sugar makes each bite perfectly chewy and caramel-like.
-
Eggs: A single egg helps bind the ingredients together while giving the pizookie a lovely, rich flavor. It also contributes to a soft and tender texture.
-
Flour: All-purpose flour is essential here, providing the structure needed for your dessert. Be sure to sift it for a lighter consistency.
-
Baking Soda: This little ingredient helps your pizookie rise beautifully, creating that desirable gooey center.
With these key ingredients in hand, you’re well on your way to a delicious homemade pizookie. Just imagine pulling it out of the oven, the warm aroma enveloping your kitchen!
Why You’ll Love This Pizookie Recipe
Imagine sinking your spoon into a warm, gooey skillet filled with fresh-baked cookie and a scoop of dreamy ice cream melting on top—this is exactly what a delightful pizookie offers. This irresistible dessert combines the best of both worlds: cookie and pizza pie, making it perfect for sharing or indulging solo.
With this pizookie recipe, you can create a delicious masterpiece right in your own kitchen, and here’s why you will absolutely love it:
-
Easy to Make: With just a handful of ingredients, you’ll whip up this dessert in no time. The simplicity of the recipe means that you don’t need to be a professional baker to impress your friends or treat yourself after a long day.
-
Customizable: The beauty of a pizookie lies in its versatility. You can play around with flavors and toppings, from chocolate chip to brownie batter, and even add your favorite nuts or candy.
-
Perfect for Sharing: This dessert is designed for sharing—just grab a few spoons and enjoy! Whether it’s a cozy night at home or a gathering with friends, a pizookie is a guaranteed crowd-pleaser.
So, let’s dive into this pizookie recipe and bring a slice of happiness to your next dessert!
Variations of Pizookie
When you’re enjoying a pizookie, it’s easy to get lost in the chocolatey, gooey goodness of this warm dessert. But why stop there? There are countless delicious variations of the classic pizookie recipe that can elevate your dessert game to a whole new level. Here are some creative ideas to inspire your next baking adventure:
Chocolate Chip Cookie Pizookie
The classic chocolate chip version is always a hit. Using a trusted pizookie recipe, simply swap out the standard cookie dough with a chunkier chocolate chip dough. The result? A dessert that’s warm, melty, and just the right amount of chewy.
Peanut Butter Pizookie
For those who adore peanut butter, incorporating it into your pizookie can take it to new heights. Blend peanut butter into your dough for a nutty and rich texture, and, for extra indulgence, throw in some chocolate chips or peanut butter cups.
Blondie Pizookie
If you prefer something less sweet than traditional brownies, a blondie pizookie might be your answer. Use a vanilla-based blondie batter, and pair it with white chocolate chips and toasted nuts for a delightful contrast to the classic chocolate pizookie.
Seasonal Fruit Pizookie
Why not bring seasonal fruits into the mix? Think strawberries in summer or apples in the fall. Mixing in fresh or roasted fruit gives your pizookie a vibrant twist, adding a touch of brightness to each decadent bite.
Each variation offers its own delicious charm, making it easy to suit your cravings or impress guests with something new! Don’t hesitate to experiment with flavors and toppings tailored to your taste. After all, the joy of creating your own pizookie could be just as sweet as the dessert itself!
Cooking Tips and Notes for Pizookie
Creating a pizookie recipe that wow your friends and family takes just a few insider tips. Let’s dive into the delicious details.
Choosing the Right Cookie Dough
Opt for a soft and chewy cookie dough as your base. If you’re short on time, store-bought is a great option. However, homemade dough allows for more personalized flavors. Add a pinch of sea salt to elevate the sweetness, giving your pizookie that perfect balance.
Baking Time Matters
Keep an eye on the timer! Everyone loves a gooey center, but overbaking can ruin the experience. Start checking around the 12-minute mark if you’re using an 8-inch pan. Remember, it will continue to cook slightly after removing it from the oven, so aim for a just-set look.
Toppings Galore
Don’t be shy about adding toppings! Classic vanilla ice cream is a must, but consider experimenting with your favorite flavors. Drizzle with warm chocolate sauce or sprinkle crushed nuts for added texture. Personalized pizookies turn desserts into delightful surprises!
Serving Suggestions
For an unforgettable presentation, serve your pizookie straight from the pan. Use a spoon for scooping, letting everyone indulge in that warm, melty goodness right at the table. It’s a perfect talk piece for friends gathering.
With these tips, your pizookie will be a crowd-pleaser, evoking smiles and indulgence in every delicious bite!
Serving Suggestions for Pizookie
No pizookie recipe is complete without some creative serving ideas that elevate this delightful dessert. Imagine warm, gooey cookie dough, fresh out of the oven, and ready to be dressed up for a memorable occasion!
Ice Cream Pairings
- Classic Vanilla: A scoop of rich vanilla ice cream is the perfect companion, melting slightly into the warm cookie for a delightful contrast.
- Salted Caramel: For a gourmet twist, consider a drizzle of salted caramel sauce over the ice cream. The sweet and salty balance is simply irresistible.
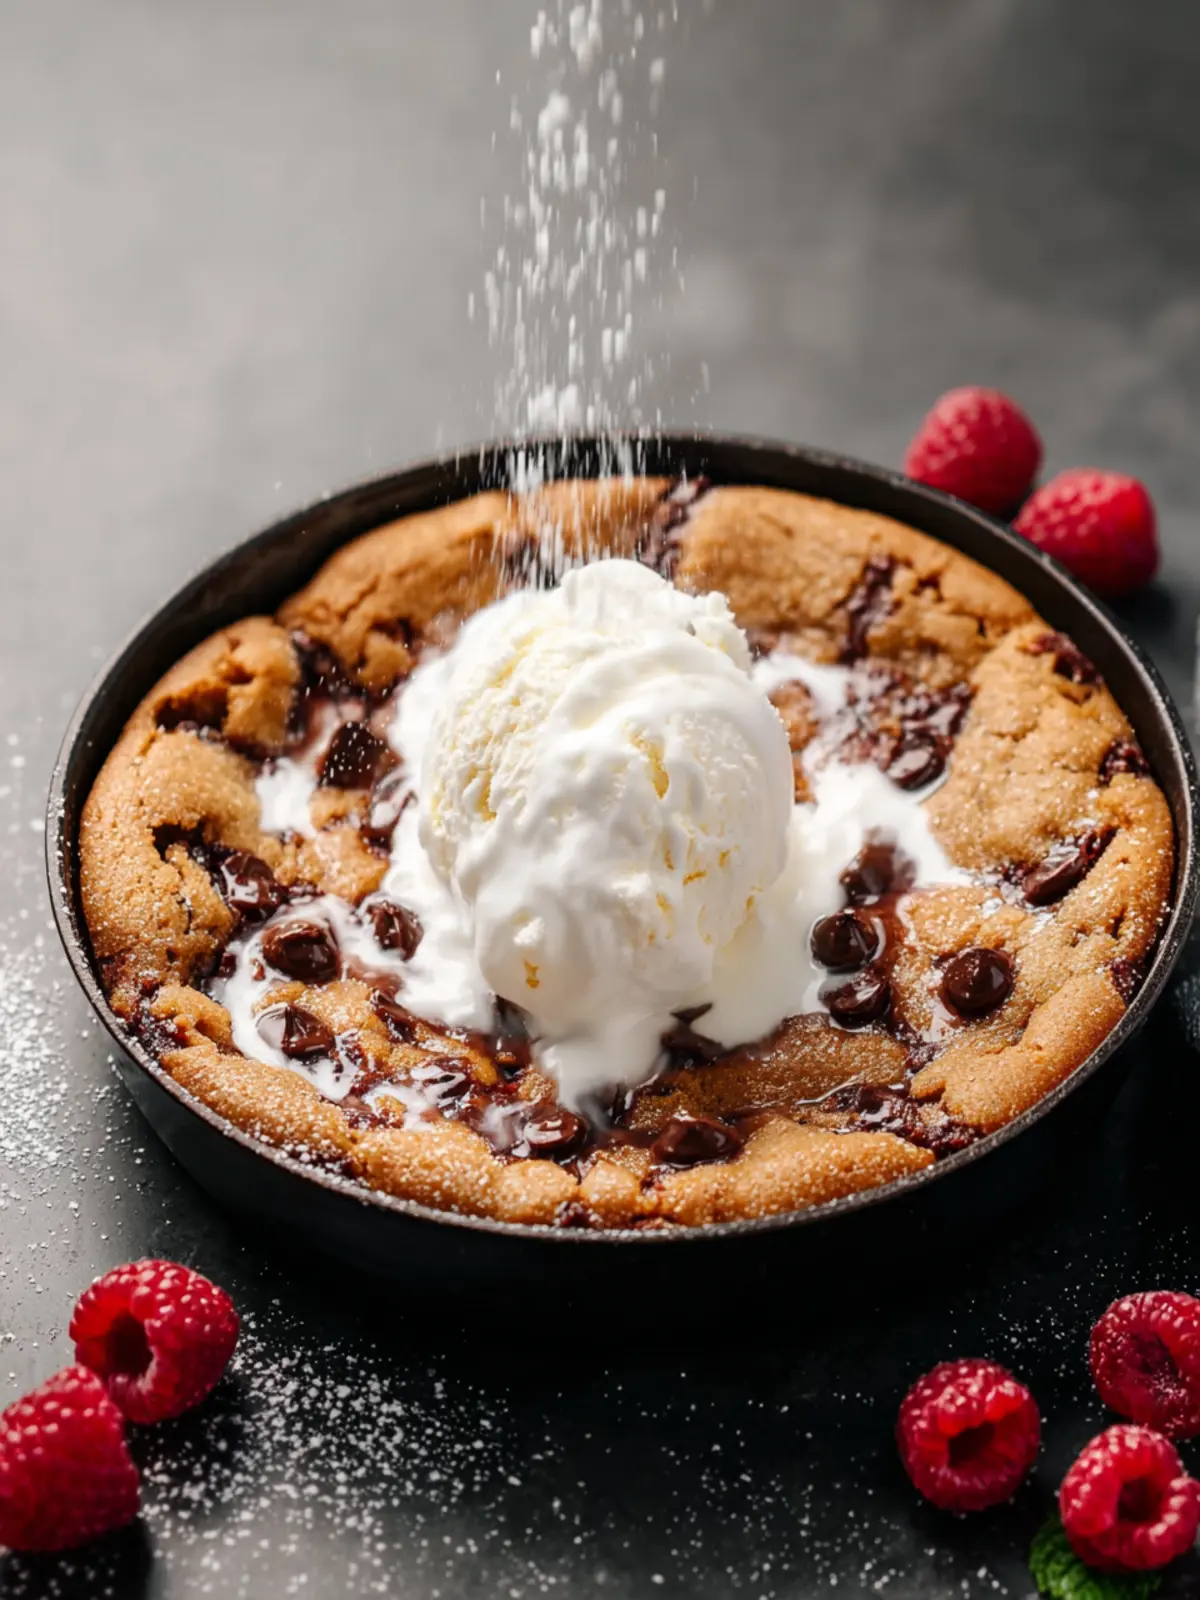
Toppings That Wow
- Chocolate Sauce: Warm chocolate sauce drizzled on top adds an extra layer of decadence.
- Fresh Berries: For a pop of freshness, top your pizookie with a mix of berries like strawberries or raspberries.
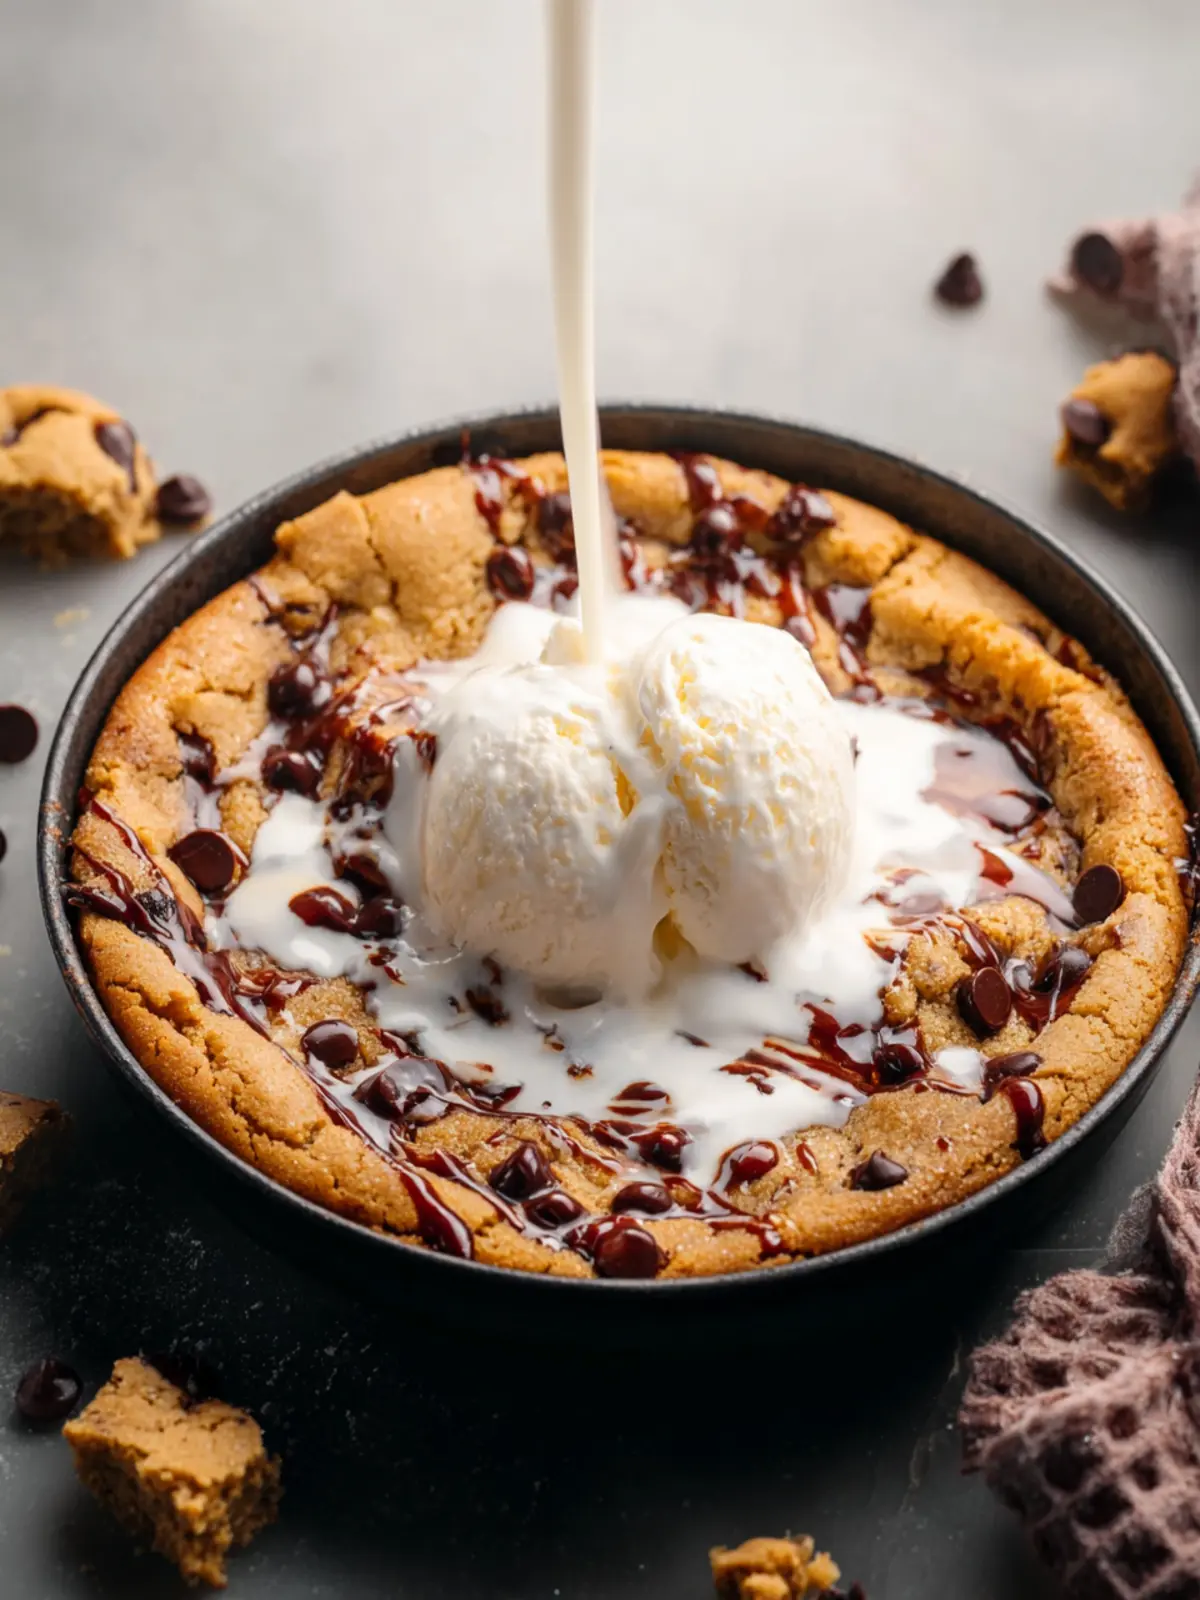
Serve It Family Style
For gatherings, serve your pizookie in cast iron skillets. Allow guests to scoop their servings straight from the pan. This not only keeps it warm but also makes it a fun, interactive dessert experience.
With these serving suggestions, your pizookie will be the highlight of any dessert table!
Time Breakdown for Pizookie
Creating the perfect pizookie is not only a delight but also an enjoyable process that won’t take up your entire day. Here’s a quick breakdown of the time you’ll need to whip up this irresistible dessert.
Preparation Time
Before you dive into baking, set aside approximately 10 minutes for preparation. This includes gathering your ingredients and mixing everything together to create that rich dough.
Baking Time
Once prepped, your pizookie will need about 20 minutes in the oven. Keep an eye on it to ensure it reaches that gooey perfection!
Total Time
In just about 30 minutes, you’ll have a delightful pizookie ready to serve. This quick and easy recipe makes it perfect for any occasion, whether it’s a casual night in or a special celebration. Enjoy!
Nutritional Facts for Pizookie
Calories:
A delicious pizookie recipe usually packs around 500-600 calories per serving. This rich, gooey dessert combines a warm cookie with ice cream, making it a sweet indulgence that’s perfect for sharing or savoring solo.
Protein:
The protein content in a pizookie comes largely from eggs and flour, contributing about 6-8 grams per serving. While it’s not a significant source of protein, it does help balance out this sweet treat.
Sugar:
Expect around 30-35 grams of sugar in each serving. This sweetness comes from added sugars in cookie dough and ice cream, creating that delightful flavor explosion in every bite. If you’re watching your sugar intake, consider minimizing the added sugars for a lighter option!
FAQs about Pizookie
Diving into the world of Pizookie opens up a realm of delicious desserts that marries the best of cookie and pizza in a warm, gooey treat! If you’re eager to whip up your own Pizookie recipe, you might have some lingering questions. Here are some frequently asked questions that can guide your baking adventure.
Can I make a Pizookie in advance?
Absolutely! You can prepare the cookie dough ahead of time and store it in the refrigerator for up to 48 hours. Just scoop it into your baking dish when you’re ready for a warm treat. However, baking it fresh provides that gooey texture that’s hard to beat.
How do I store leftovers?
If you find yourself with leftovers (though that’s rare), simply cover the Pizookie with plastic wrap or foil and keep it at room temperature for a day. For longer storage, transfer any uneaten portions to an airtight container and refrigerate them for up to three days. Reheat in the oven for a few minutes until warmed through for that fresh-out-of-the-oven experience.
What toppings work best with Pizookie?
Toppings can definitely elevate your Pizookie game! Here are some favorites:
- Classic Vanilla Ice Cream: The cold and creamy contrast is iconic.
- Chocolate or Caramel Sauce: Drizzle it generously for added sweetness.
- Chopped Nuts: Walnuts or pecans bring crunch and depth.
- Fruits: Fresh berries or sliced bananas add a refreshing touch.
Experiment and enjoy! Each variation allows you to personalize your Pizookie experience. Happy baking!
Conclusion on Pizookie Recipe
Creating the perfect pizookie recipe is more than just baking; it’s a delightful journey filled with sweet aromas and gooey textures. This dessert is not only delicious but also a fun, shareable treat that bridges connections with family and friends. Whether you’re enjoying it fresh out of the oven or reheating it for a late-night indulgence, a pizookie provides comfort and joy in every bite. Remember, personal twists and flavor adaptations can turn this into your signature dish. So, gather your ingredients, embrace the process, and let your pizookie become a memorable part of your dessert repertoire.
Print
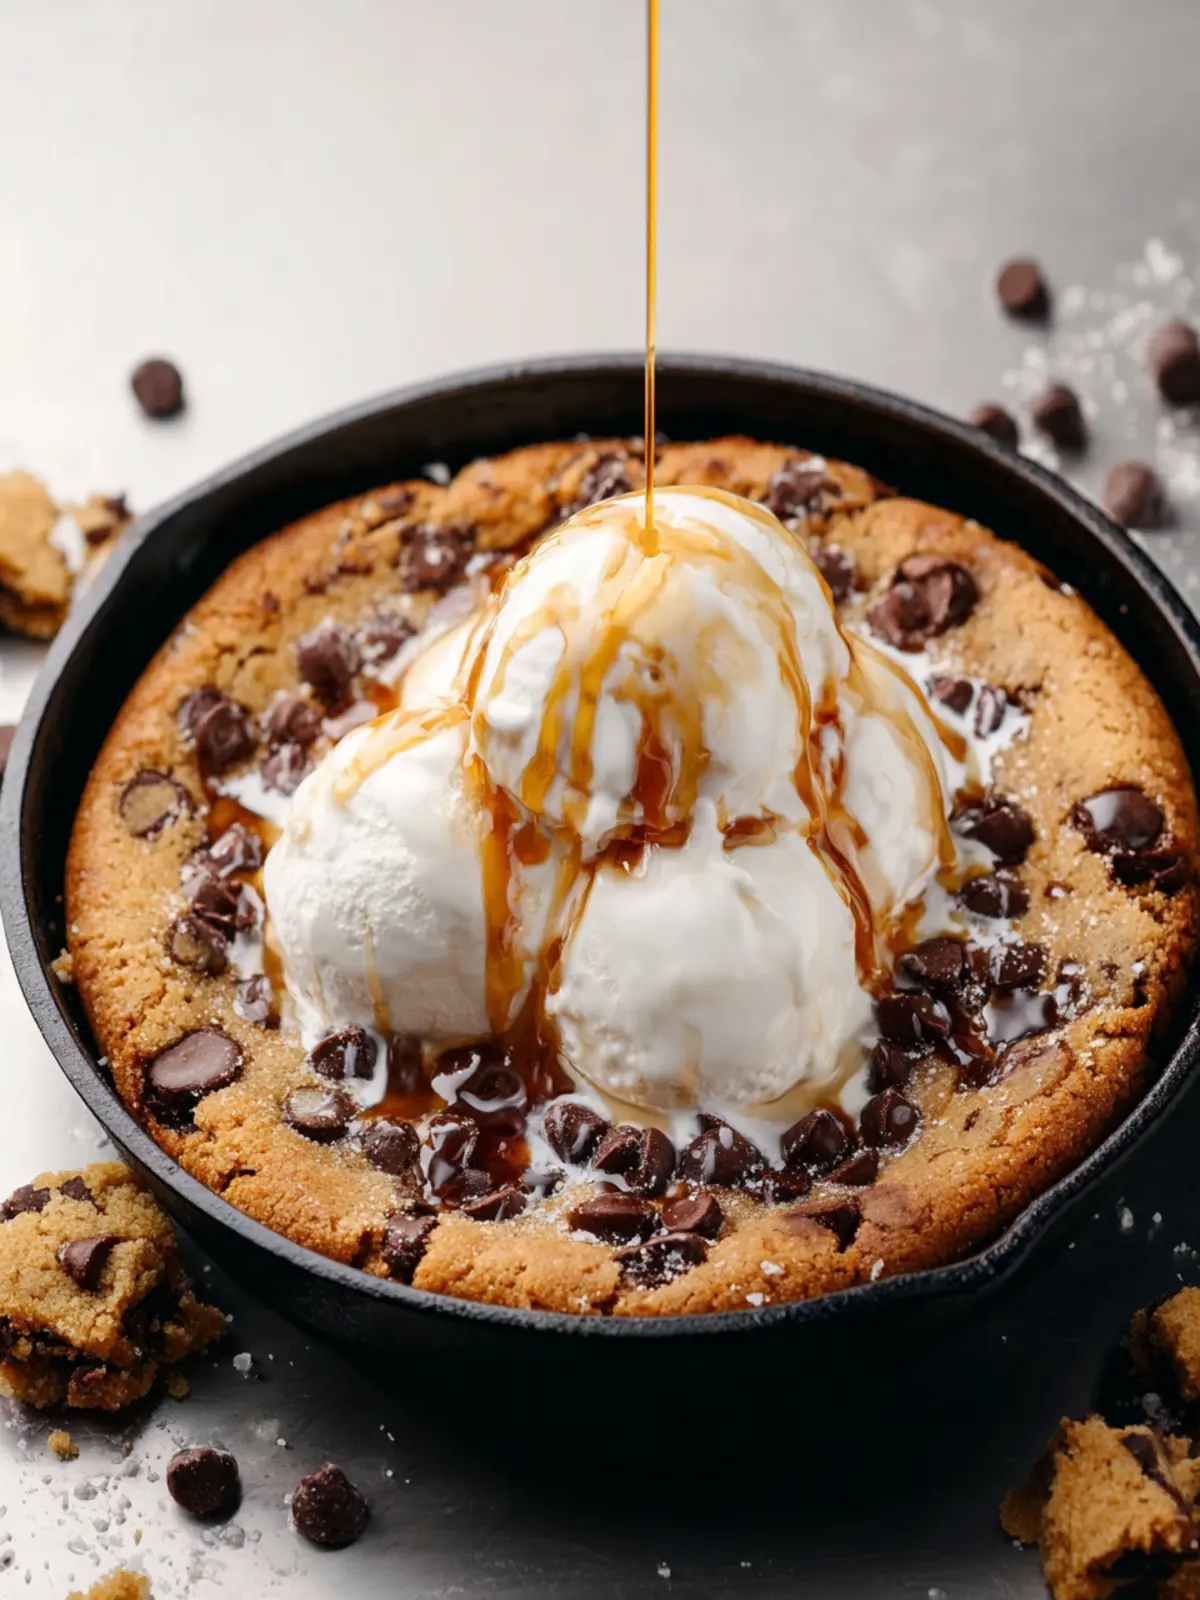
Chocolate Chip Cookie Skillet
- Total Time: 40 minutes
- Yield: 8 servings 1x
Description
A delicious and gooey chocolate chip cookie baked in a cast-iron skillet.
Ingredients
Scale
- 8 tablespoons (1/2 cup) unsalted butter (at room temperature)
- 1/2 cup granulated sugar
- 1/3 cup light brown sugar (lightly packed)
- 1 large egg (at room temperature)
- 1 teaspoon vanilla extract
- 1–1/2 cups all-purpose flour
- 1/2 teaspoon baking soda
- 1 teaspoon baking powder
- 1/4 teaspoon salt
- 10 to 12 Miniature Reese’s Cups (unwrapped and cut in half, optional)
- 1 cup milk chocolate chips
- 1/2 cup mini chocolate chips (or M&Ms)
- Vanilla ice cream (or whatever flavor you love; optional topping)
- Hot fudge topping (optional topping)
Instructions
- Preheat oven to 350°F. Lightly grease a 9-inch cast-iron skillet or cake pan.
- In a medium bowl, use a stand mixer or hand mixer to beat the butter, granulated sugar, and brown sugar for 2 to 3 minutes, until light and creamy. Add the egg and vanilla and mix until combined.
- In a separate bowl, stir together the flour, baking soda, baking powder, and salt. Add to the wet ingredients and mix just until a dough forms. Do not over-mix. Stir in the chocolate chips and mini chips or M&Ms.
- Divide the dough in half. Press half into the bottom of the skillet. Arrange the halved Reese’s cups evenly on top, cut side down, if using.
- Press the remaining dough over the Reese’s cups and smooth into one even layer so the candy is fully covered.
- Bake for 20 to 25 minutes, until the edges are light golden and the center still looks soft. (I like it best slightly underbaked in the center so it stays a little gooey.)
- Let cool slightly, then serve warm with ice cream and hot fudge if desired.
Notes
- For a gooey texture, it’s best to slightly underbake the center.
- Prep Time: 15 minutes
- Cook Time: 25 minutes
- Category: Dessert
- Method: Baking
- Cuisine: American
Nutrition
- Serving Size: 1 slice
- Calories: 350
- Sugar: 25g
- Sodium: 150mg
- Fat: 18g
- Saturated Fat: 10g
- Unsaturated Fat: 7g
- Trans Fat: 0g
- Carbohydrates: 45g
- Fiber: 2g
- Protein: 4g
- Cholesterol: 30mg