Follow Me On Social Media!
Retro Dessert Bliss: The Festive Treat I’m Making on Repeat
Introduction to The Retro Dessert I’m Making on Repeat for the Holidays
There’s just something magical about retro desserts—they evoke nostalgia and bring a sense of comfort that modern treats sometimes can’t replicate. This holiday season, I’ve found myself returning time and again to the delightful charm of a vintage recipe that fills my kitchen with warmth and the sweet smell of indulgence. Picture this: friends and family gathered, laughter filling the room, and everyone delighting in a slice of this timeless treat. It’s not just dessert; it’s a bridge to joyful memories.
In the hustle and bustle of the holidays, there’s a unique joy in preparing a recipe that has withstood the test of time. Whether it’s the hands-on involvement in making each layer or the anticipation as it bakes, this retro dessert creates a delightful sense of occasion. Plus, it’s one of those recipes that undeniably impresses without being overly complex. With just a handful of ingredients and some love, you’re on your way to creating a centerpiece that will keep guests talking long after the last crumb is gone.
What Makes This Retro Dessert a Holiday Favorite?
This dessert has become a staple in my kitchen for several reasons:
-
Unmatched Flavor: The blend of flavors in this recipe embodies the essence of the season. Each bite delivers a perfect balance of sweetness and warmth, thanks to carefully curated ingredients that come together beautifully.
-
Versatility: It’s a wonderful dessert for various gatherings—whether it’s an intimate dinner or a lively holiday party, it never fails to please. Plus, it looks gorgeous on any table setting!
-
Nostalgia: As you indulge in this delicious throwback, it’s impossible not to reminisce about past holiday gatherings. From family members sharing stories to the scent wafting through the air, it holds precious memories for many.
As you embark on making this retro dessert, be prepared for a celebration of flavors and emotions that make the holidays truly special. Adventure awaits in the kitchen, bringing you one step closer to sharing a delicious piece of the past with loved ones today!
Key Ingredients for The Retro Dessert I’m Making on Repeat for the Holidays
Bringing back the retro dessert trend feels like a warm hug during the chilly holiday season. Imagine the familiar scents of nostalgia wafting through your kitchen as you whip up this classic treat. Here’s a breakdown of the essential ingredients that make this dessert a holiday favorite:
-
Butter: This is crucial for achieving that rich, creamy texture. I melt half of it for the batter and use the other half to grease the pan, ensuring a beautifully golden crust that’s easy to serve.
-
Sugar: I love mixing granulated sugar with a bit of brown sugar. The brown sugar adds a hint of caramel flavor that complements the overall sweetness without overpowering it.
-
Eggs: Fresh eggs are key to achieving the right fluffiness. While they make the batter rise beautifully, be sure to beat them well for that airy texture.
-
Vanilla Extract: A splash of high-quality vanilla extract brings depth to the dessert. Trust me, it makes a world of difference!
-
Flour: I use all-purpose flour for structure. If you’d like to make a gluten-free version, a 1:1 blend works great.
-
Milk: A touch of whole milk adds moisture, which is essential for a tender final product. You could substitute with almond or oat milk if desired.
Together, these ingredients form the heart of a retro dessert that will surely become a holiday staple in your home!
Why You’ll Love This Dessert
This retro dessert brings back fond memories of childhood gatherings filled with laughter and warmth. Picture the delightful aroma wafting through the air as you bake, inviting family and friends to gather around the kitchen. The nostalgia intertwined with the flavors makes it the perfect centerpiece for any holiday celebration.
Here’s why you’ll find yourself making this dessert on repeat:
-
Unforgettable Flavor: With layers of rich textures and flavors, every bite is a delicious trip down memory lane. The combination of sweet, creamy, and slightly tangy notes creates harmony that will leave your guests asking for more.
-
Easy to Make: Preparing this retro dessert is surprisingly simple. Even if you’re not a baking whiz, the clear steps and readily available ingredients make it achievable. It’s the kind of recipe that allows you to showcase your culinary skills without unnecessary stress.
-
Versatile Presentation: Whether you choose a classic dish or personal-sized servings, this dessert adapts beautifully to any setting. It can be elegantly plated for a formal dinner or served casually at a festive gathering.
Embrace the charm of this delightful retro dessert, and let its joyful flavors become a holiday tradition in your home, creating new memories to cherish. Your taste buds—and your loved ones—will thank you!
Variations for The Retro Dessert
Unleashing your creativity when making this retro dessert can lead to delightful surprises. After whipping up the base recipe, consider these tasty variations to match your mood or impress your guests.
Experiment with Flavors
- Chocolate Twist: Add some cocoa powder to the batter for a rich chocolatey version. You can also fold in chocolate chips to amp up the indulgence.
- Citrus Zing: For a refreshing variation, incorporate lemon or orange zest. The bright flavors can lighten up the sweetness, making it an instant crowd-pleaser.
Incorporate Seasonal Ingredients
- Fall Spice: Add cinnamon and nutmeg to evoke that cozy autumn vibe. This is especially great if you’re enjoying the retro dessert during the holiday season.
- Summer Fruits: Fresh berries like raspberries or blueberries can be folded into the batter, or used as a topping for a burst of color and flavor.
Creative Presentation
- Individual Servings: Instead of a large dish, serve the retro dessert in small jars or ramekins for a fun presentation. This can make it feel fancy and more personalized.
- Decorative Toppings: Finish with whipped cream or a drizzle of caramel sauce. Consider garnishing with edible flowers or mint leaves for an elegant touch.
By embarking on these variations, your retro dessert transforms from a simple recipe into a versatile favorite that can be enjoyed all year round. What unique twist will you put on this classic?
Cooking Tips and Notes
Making a retro dessert can be an enjoyable journey back in time, especially when you embrace the nostalgia of classic flavors. Here are some tips to help you perfect your holiday creation:
-
Ingredient Quality: Start with high-quality ingredients; they truly make a difference. Opt for fresh dairy products and real vanilla extract, as their flavors enhance your dessert and keep it authentic.
-
Temperature Matters: Ensure your butter and eggs are at room temperature before mixing. This helps achieve a creamy texture and a well-emulsified batter, giving your retro dessert that delightful fluffiness we all crave.
-
Prepping the Pan: Don’t skip on greasing and lining your baking dish. A well-prepared pan prevents sticking and ensures your dessert comes out perfectly every time.
-
Baking Times: Ovens can vary, so start checking your dessert a few minutes before the suggested baking time. A toothpick inserted into the center should come out clean when it’s done.
-
Cool Before Serving: Allow your dessert to cool completely in the pan. This step not only enhances the flavor but also makes it easier to slice without crumbling.
Remember, cooking is as much about experimentation as it is about following the recipe. Don’t hesitate to play with flavors and make this retro dessert your own!
Serving Suggestions for The Retro Dessert
When I think of my retro dessert for the holidays, I imagine cozy gatherings, laughter, and the sweet aroma wafting from the kitchen. This dish not only serves as a delightful treat but also as a conversation starter, taking everyone back to simpler times. As you prepare to serve this classic, consider some fun and inviting ways to elevate the experience.
Plate Presentation
First impressions matter! Serve your retro dessert on vintage-inspired plates for that nostalgic touch. Dusting the top with powdered sugar adds elegance, while colorful fruit or a drizzle of rich chocolate sauce creates visual appeal. A few fresh berries or mint leaves can also brighten the plate and enhance the flavors.
Pairing Beverages
Complement your dessert with the perfect drink. A light, bubbly prosecco or a classic cup of coffee enhances the sweetness without overwhelming it. For a festive twist, homemade eggnog or a spiced cider would pair beautifully and resonate with the holiday vibe.
Sharing and Enjoying
Gather friends and family around and serve your retro dessert family-style, allowing everyone to scoop their portion. This encourages conversation and sharing, creating a warm atmosphere filled with joy and nostalgia. Why not share a story about what inspired you to make this dish or a cherished memory related to it?
Incorporating these serving suggestions will turn your retro dessert into a centerpiece of warmth, connection, and delicious enjoyment during the holidays!
Time Breakdown for The Retro Dessert
When crafting the ultimate retro dessert, timing is everything. With careful planning, you can create this delightful treat without feeling rushed, letting each step shine. Here’s how the time breaks down:
Preparation Time
Getting everything ready takes about 20 minutes. This includes gathering your ingredients and mixing the batter, so set aside time to whip it all together.
Baking Time
The magic happens in the oven for approximately 30 to 35 minutes. Watch for that golden-brown top that signals it’s time to take it out!
Cooling Time
Patience is key here! Allow your retro dessert to cool for about 15 to 20 minutes before serving. This not only improves the texture but also enhances the flavors.
Total Time
All in all, you’re looking at about 1 hour and 15 minutes from start to finish. Perfect for a cozy afternoon in the kitchen!
Nutritional Facts for The Retro Dessert
When you indulge in this retro dessert, it’s not just about the memories—it’s also about balancing flavors and nutrition. Let’s break down what’s in this delightful treat.
Calories
Enjoying this nostalgic dessert typically equates to around 300 calories per serving. It’s a sweet indulgence, but the happiness it brings during the holidays is worth it!
Protein
If you’re looking for a little boost, you’ll find about 4 grams of protein per serving. While this dessert isn’t a protein powerhouse, it does offer a comforting finish to your meal.
Sugar
With approximately 22 grams of sugar, this retro dessert is definitely on the sweeter side. It’s all part of the charm, bringing back childhood memories and sweet moments during family gatherings.
Remember, enjoying treats like this in moderation is key to keeping the holiday spirit alive while maintaining your nutritional goals!
FAQs about The Retro Dessert
When it comes to The Retro Dessert, many home cooks find themselves asking the same questions to make the most of this delightful treat. Let’s dive into the most common inquiries to help you enjoy this nostalgic dish with ease and confidence.
Can I prepare it in advance?
Absolutely! One of the best things about this retro dessert is that it can be made ahead of time, making your holiday hustle a little smoother. Simply prepare your dessert, cover it, and store it in the refrigerator for up to two days. This allows the flavors to meld beautifully. Just remember to take it out a bit before serving to let it come to room temperature.
How can I store leftovers?
If you have any leftovers—a rare occurrence, I know—you can store them in an airtight container in the refrigerator for up to three days. It’s essential to keep it sealed to maintain its delightful texture and taste. If you want to enjoy it longer, consider freezing portions. Just remember to thaw it in the fridge overnight before enjoying it again.
What can I substitute for crushed pineapple?
If crushed pineapple isn’t available, there are several substitutes that work well in this retro dessert. You can use other fruits like chopped peaches or apricots to offer a different fruity flavor. Applesauce can be another great option, adding moisture and sweetness without overpowering the dish. Just keep in mind that the overall flavor will change slightly based on your choice!
With these tips, you’re all set to impress your holiday guests with The Retro Dessert. Happy baking!
Conclusion on The Retro Dessert I’m Making on Repeat for the Holidays
As I reminisce about my childhood holidays, I can’t help but bring back the retro dessert that warms my heart and home. This delightful treat has become a centerpiece for my celebrations, evoking nostalgia with every bite. Whether it’s the creamy layers or the rich flavors, it’s a dish that invites friends and family to gather around the table.
Making this dessert is not just about the culinary experience; it’s a chance to create lasting memories with loved ones. So, don’t hesitate to add this retro dessert to your holiday traditions. Embrace the joy it brings, and watch as your kitchen fills with warmth and laughter throughout the season.
Print
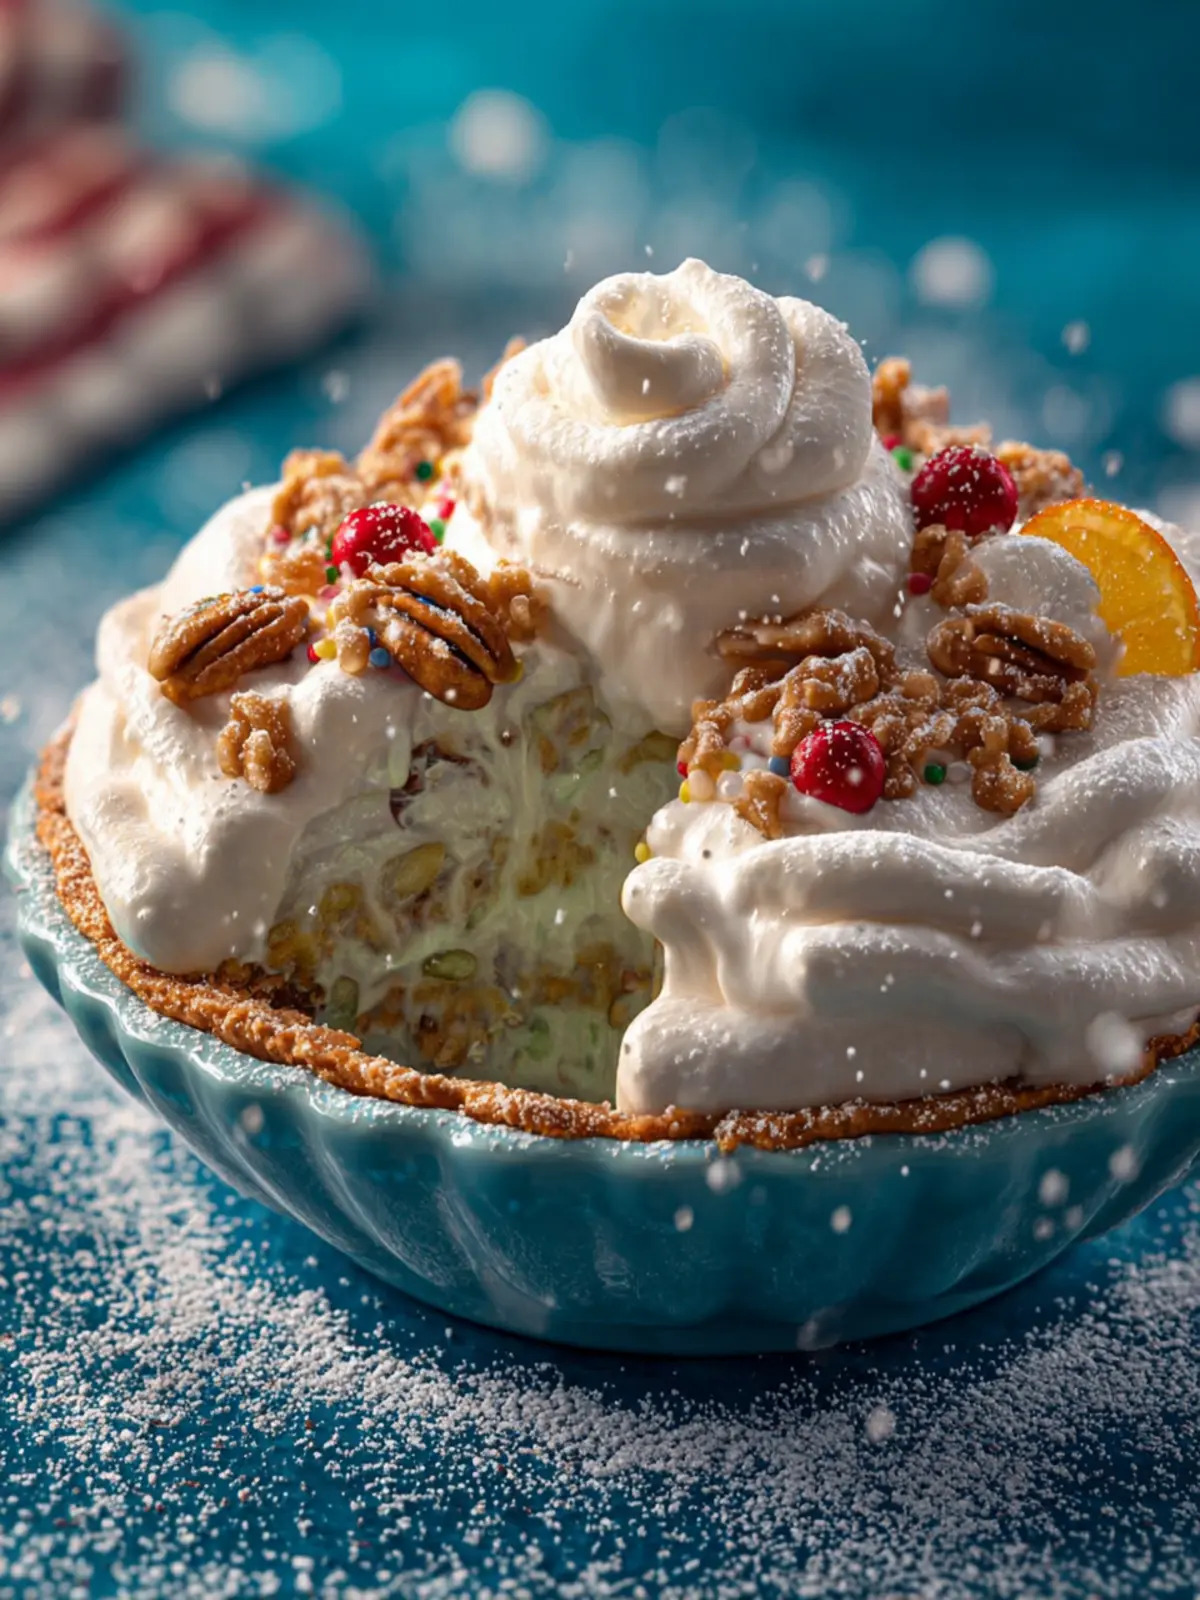
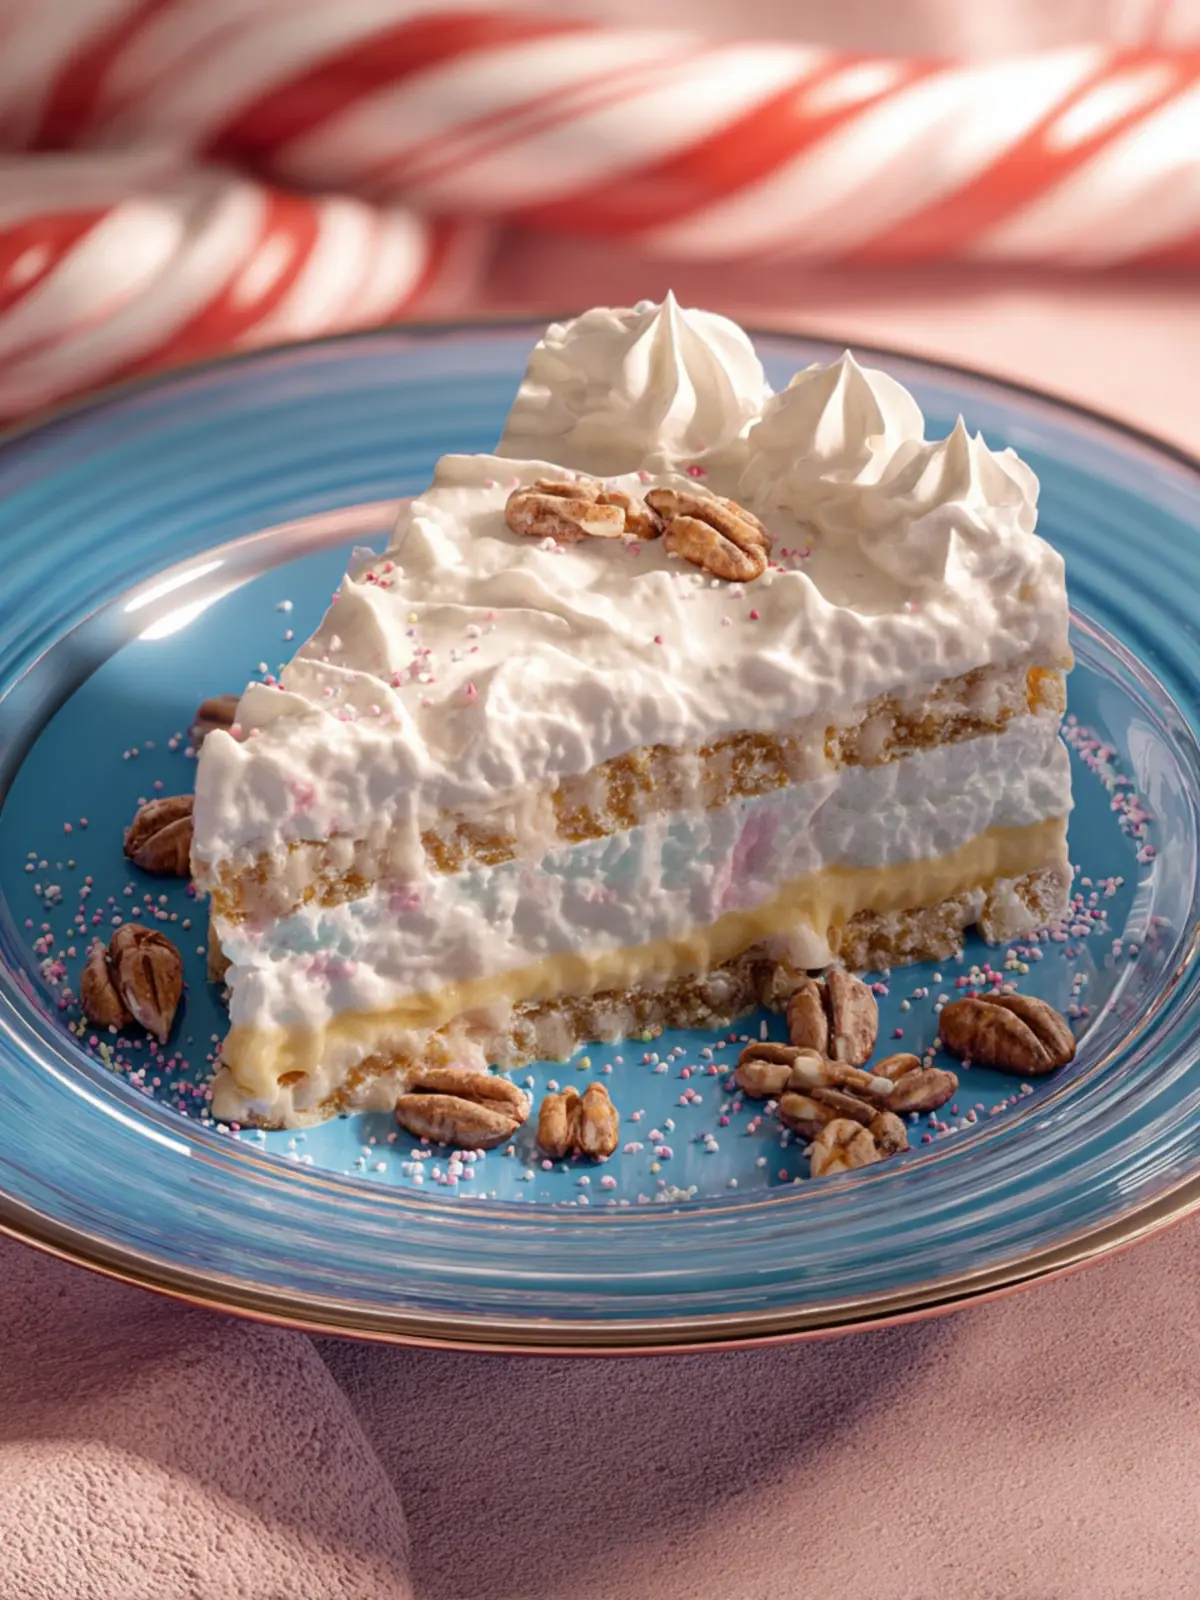
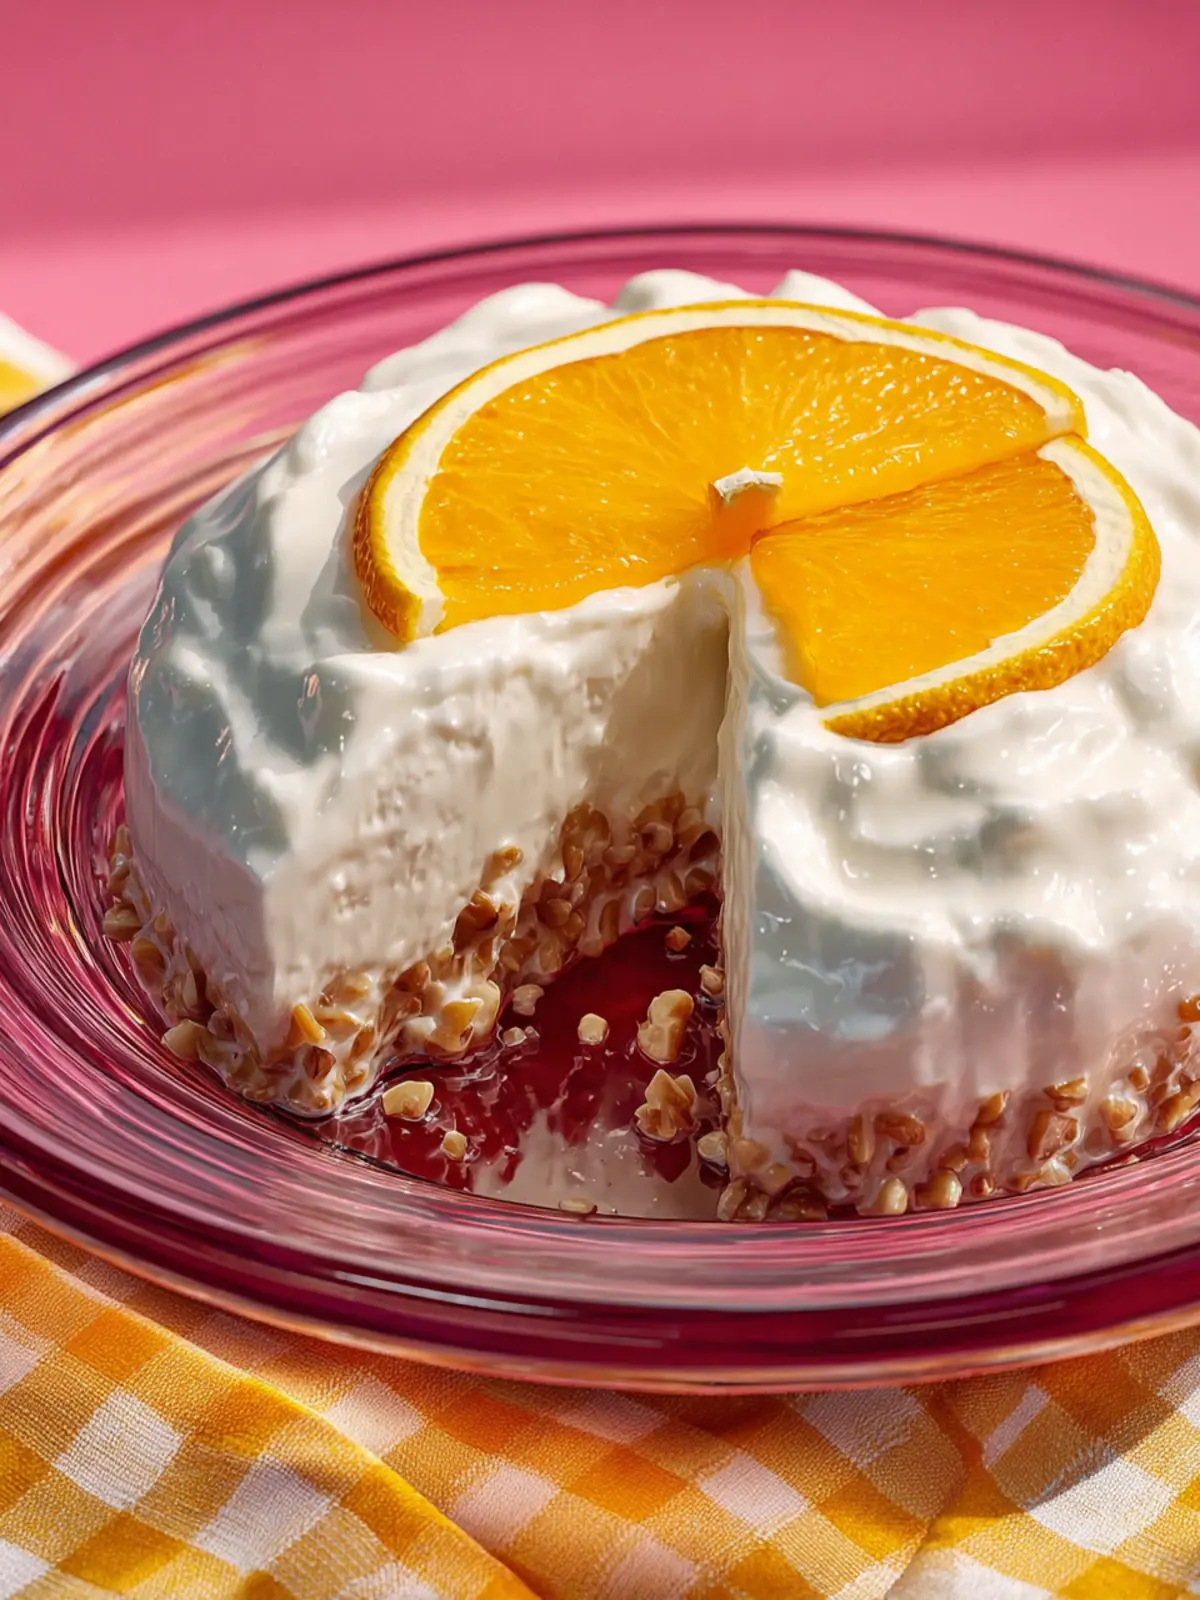
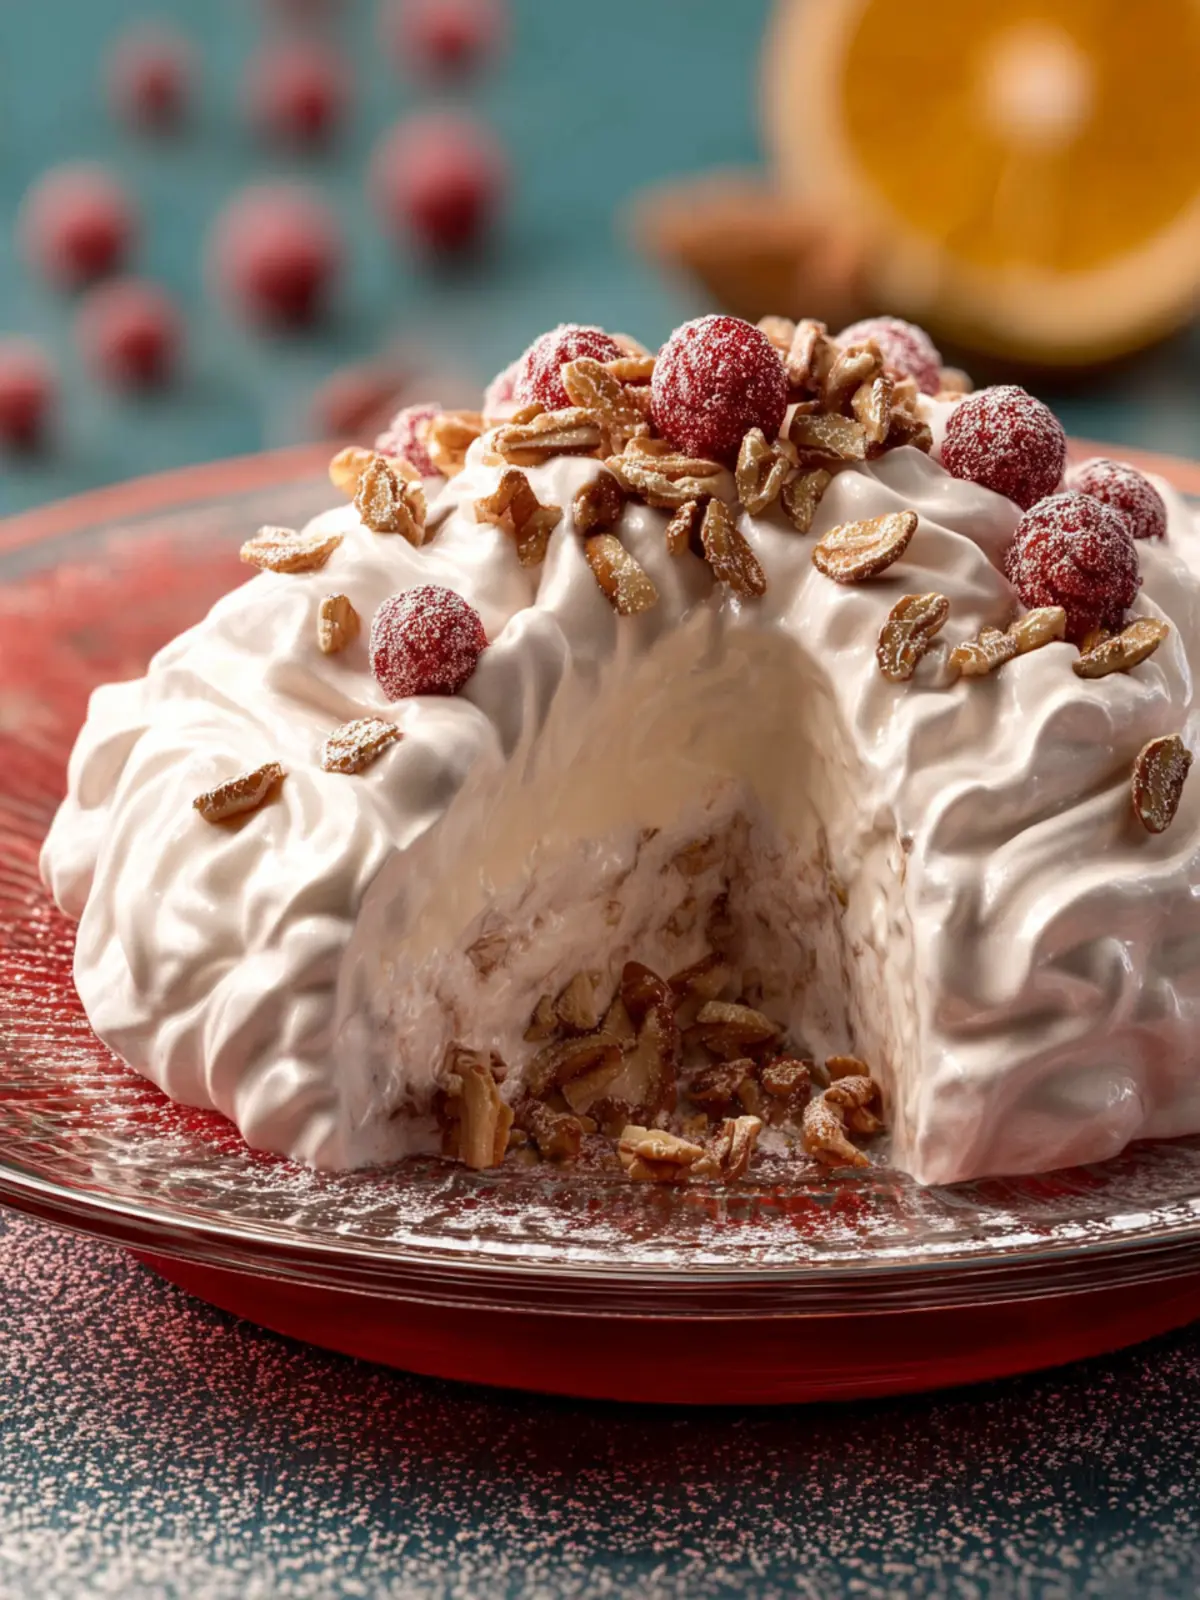
Pineapple Meringue Pie
- Total Time: 1 hour 52 minutes
- Yield: 8 servings 1x
- Diet: Vegetarian
Description
A delicious light and fluffy pineapple meringue pie.
Ingredients
Scale
- 3 large egg whites
- 1/2 teaspoon cream of tartar
- 1 cup granulated sugar
- 18 saltine crackers (2 ounces), crushed
- 1/2 cup chopped pecans, plus extra for garnishing
- 1 teaspoon vanilla extract
- 1/2 cup heavy cream
- 2 tablespoons granulated sugar
- 2 tablespoons crushed pineapple
Instructions
- Lightly coat a 9-inch glass pie pan with nonstick spray and set aside.
- Add the egg whites and cream of tartar to a large glass mixing bowl and whip with a hand mixer on medium speed until frothy, about 2 minutes.
- With the mixer on medium speed, gradually stream in the sugar. Continue to beat the egg whites until stiff peaks form, about 8 more minutes.
- Gently fold the Saltine crackers, pecans, and vanilla into the meringue.
- Scoop into the prepared pie plate. Use a spoon or spatula to gently press the egg white mixture into an even layer that covers the bottom and sides of the plate, like a thick crust.
- Bake the pie crust until set but not browned, 20 to 22 minutes. The exterior will be dry and hard when lightly pressed, with a matte finish.
- Let the pie crust cool completely before making the topping, about 1 hour.
- Once the crust has cooled, whip the heavy cream until frothy using the whisk attachment on a stand mixer or a hand mixer, about 1 minute.
- Add the sugar and whisk on medium speed until medium peaks form, 5 to 6 minutes. The mixture will be doubled in volume with peaks that stand then fall over when you remove a beater.
- Gently fold the crushed pineapple into the whipped cream.
- Add the topping to the pie crust, smoothing it out. If desired, top with a little more pineapple and a sprinkle of nuts.
- Serve immediately.
Notes
- For a more decadent topping, consider adding additional whipped cream or fresh fruit.
- Prep Time: 30 minutes
- Cook Time: 22 minutes
- Category: Dessert
- Method: Baking
- Cuisine: American
Nutrition
- Serving Size: 1 slice
- Calories: 180
- Sugar: 14g
- Sodium: 50mg
- Fat: 5g
- Saturated Fat: 1g
- Unsaturated Fat: 3g
- Trans Fat: 0g
- Carbohydrates: 29g
- Fiber: 1g
- Protein: 3g
- Cholesterol: 0mg